> For the complete documentation index, see [llms.txt](https://docs.ovaledge.com/llms.txt). Markdown versions of documentation pages are available by appending `.md` to page URLs; this page is available as [Markdown](https://docs.ovaledge.com/release8.1/installation-and-settings/authentication-and-sso-setup/onelogin.md).
# OneLogin
This article provides a detailed process to configure Single Sign-On (SSO) for the OvalEdge application using OneLogin. It covers the complete setup, including logging in to OneLogin, creating a SAML application, configuring SSO parameters, setting up roles and groups, adding users, obtaining SAML metadata, and finalizing the configuration in OvalEdge. This ensures a secure and seamless login experience, managed centrally via OneLogin.
### Prerequisites
* Access to the OneLogin Admin Portal with administrator rights
* DNS or IP address for the OvalEdge application
## Process to Configure SSO
### Log in to OneLogin
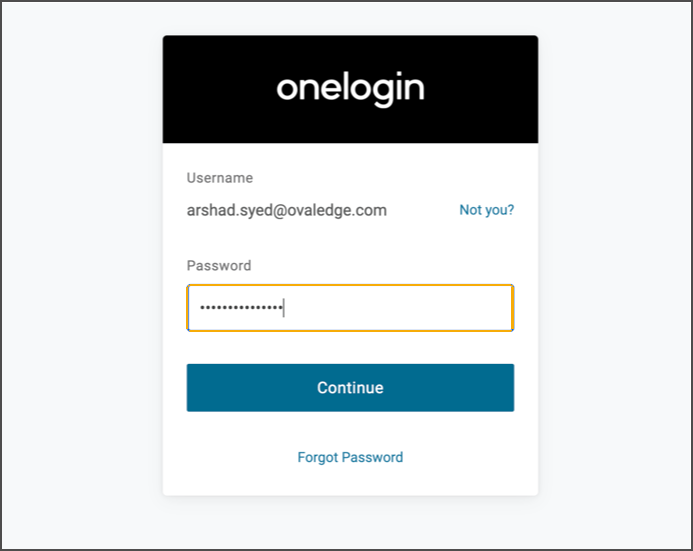
* Log in to the OneLogin portal.
* Enter valid credentials, and click **Continue**.
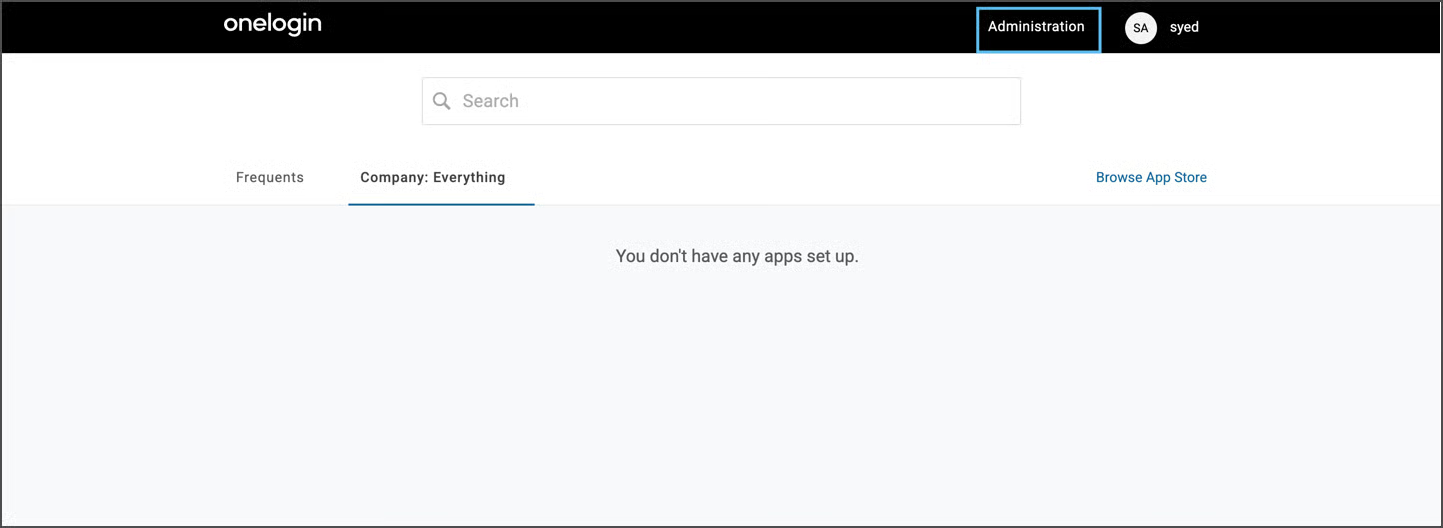
 * Select **Administrator** to access the admin console.
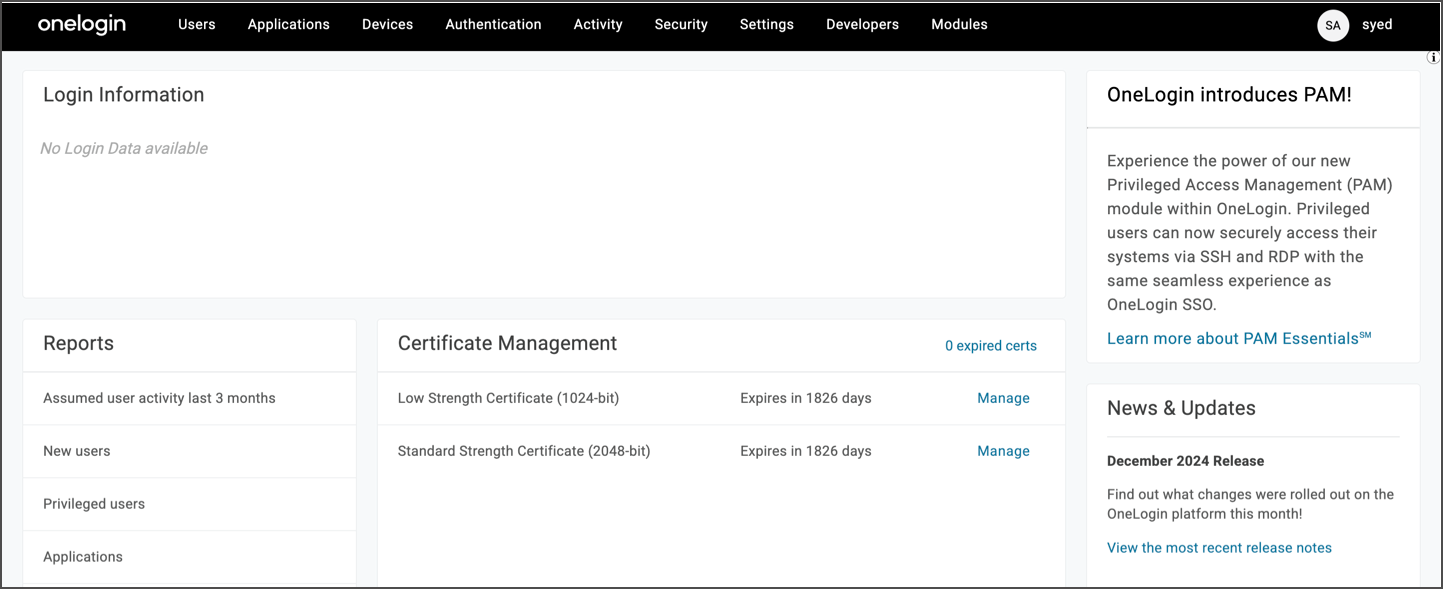
 * Now, the following page displays.
 ### Create a SAML Application
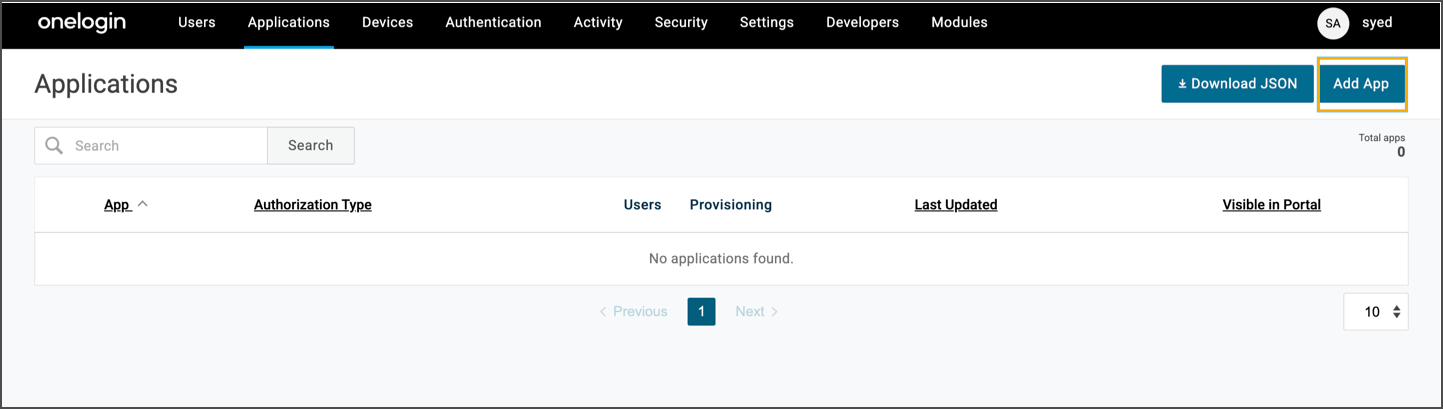
* Navigate to **Applications > Add App**.
### Create a SAML Application
* Navigate to **Applications > Add App**.
 * Search and select **SAML Custom Connector (Advanced)**.
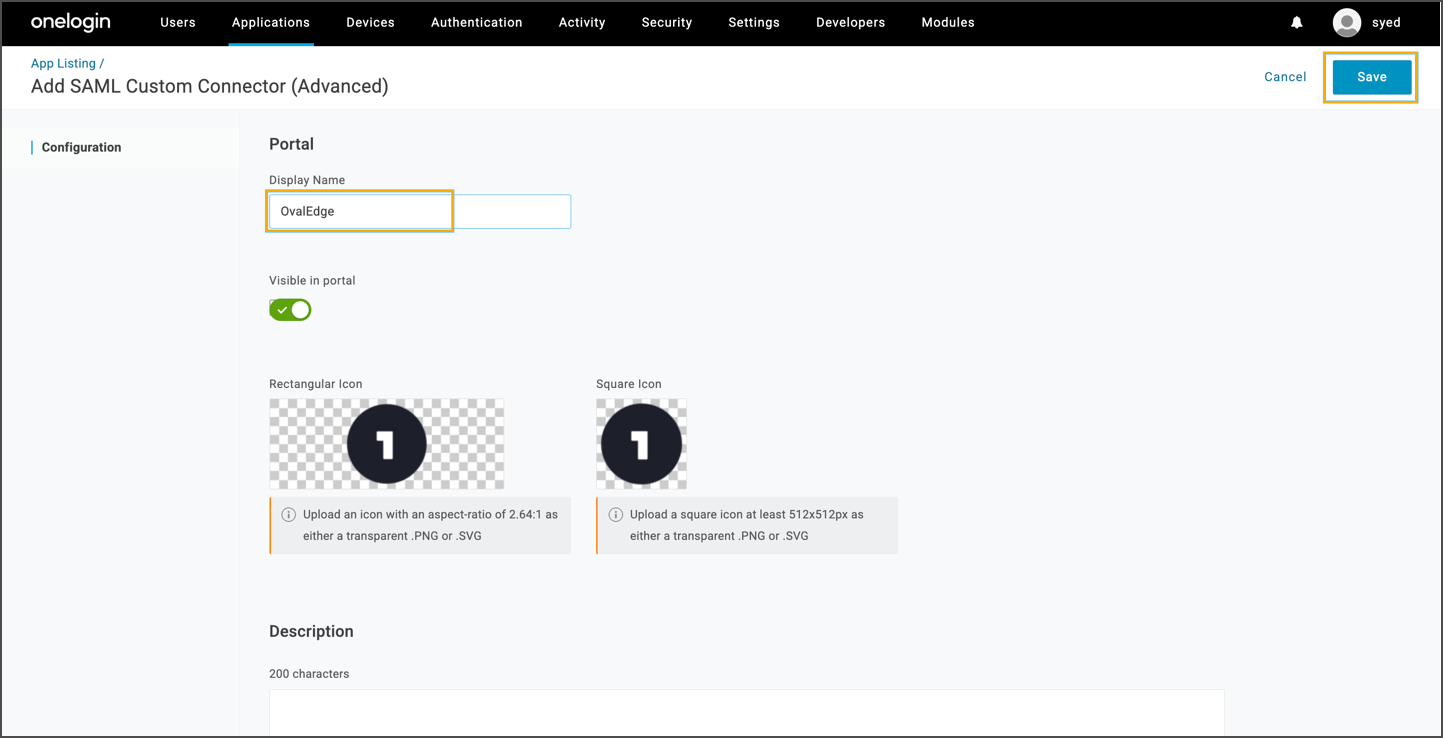
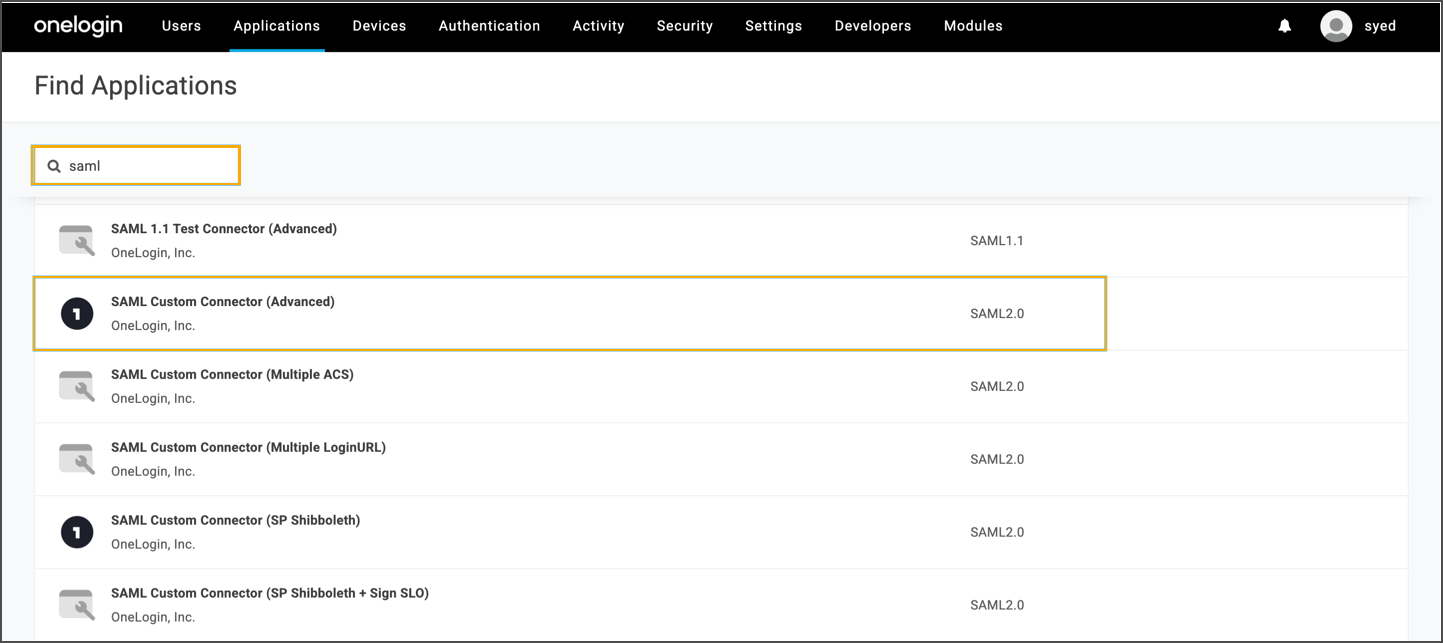 * Provide a display name for the application (for example, *OvalEdge SSO*) and click **Save**.
 Configure SAML settings under the **Configuration** tab by entering the following values:
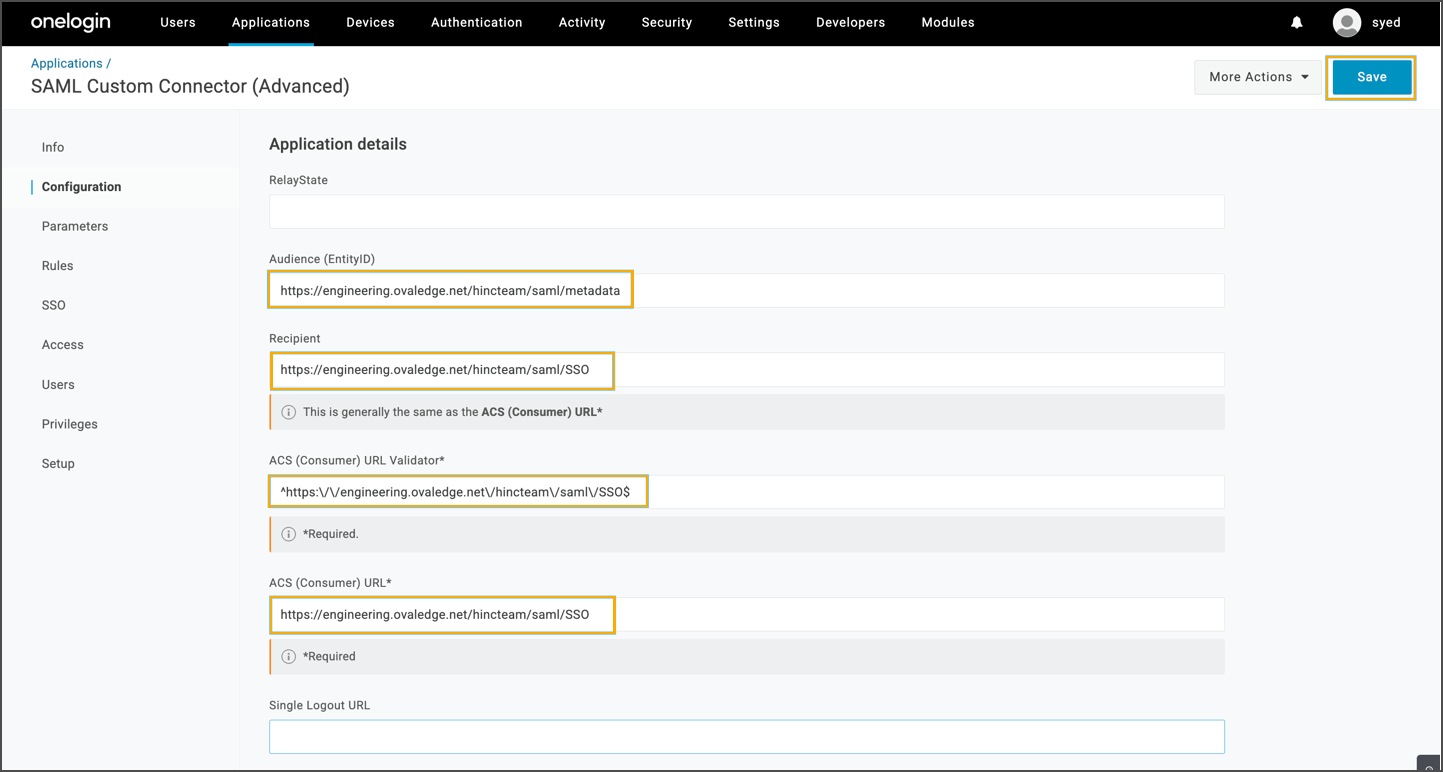 * Audience: `https:///ovaledge/saml/metadata`
* Recipient: `https:///ovaledge/saml/SSO`
* ACS (Consumer) URL Validator: `^https:\/\/\/ovaledge\/saml\/SSO$`
* ACS (Consumer) URL: `https:///ovaledge/saml/SSO`\
Click **Save**.
### Set up parameters
* Navigate to the **Parameters** tab and clicking the **+** icon. Ensure the “configured by admin” option is checked for credentials.
* Audience: `https:///ovaledge/saml/metadata`
* Recipient: `https:///ovaledge/saml/SSO`
* ACS (Consumer) URL Validator: `^https:\/\/\/ovaledge\/saml\/SSO$`
* ACS (Consumer) URL: `https:///ovaledge/saml/SSO`\
Click **Save**.
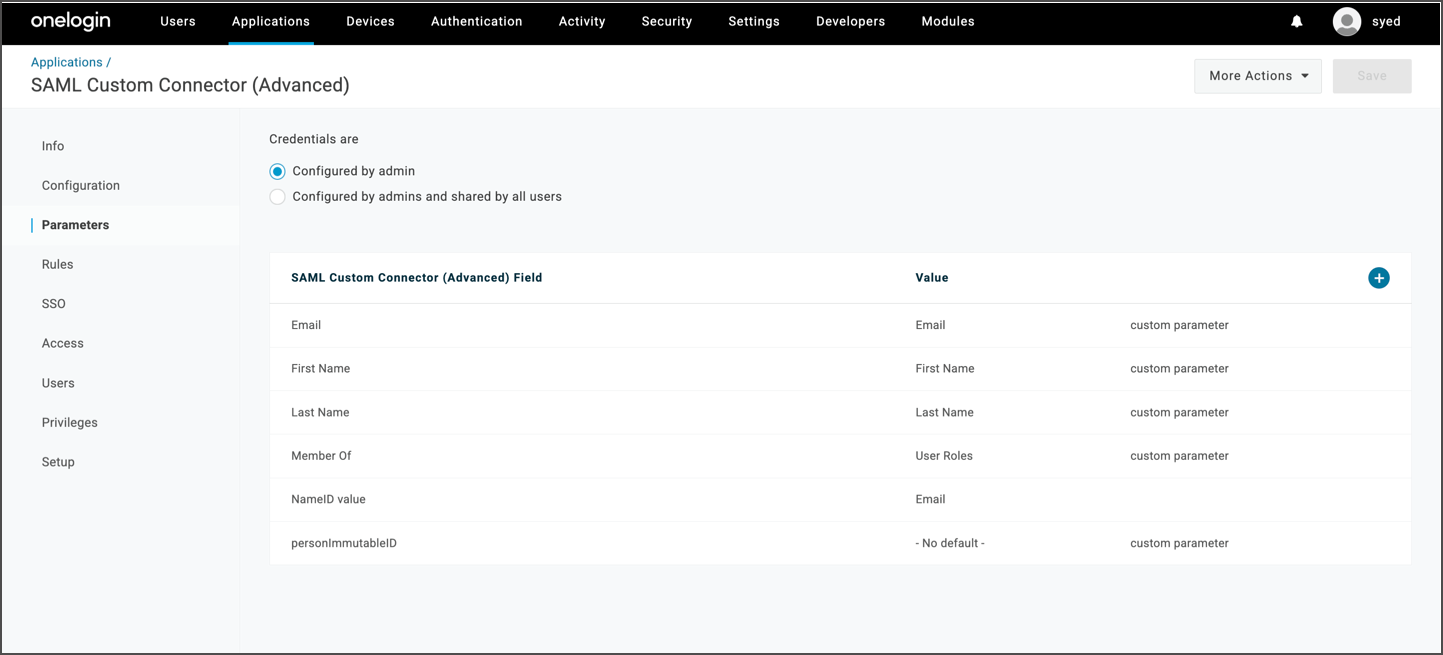
### Set up parameters
* Navigate to the **Parameters** tab and clicking the **+** icon. Ensure the “configured by admin” option is checked for credentials.
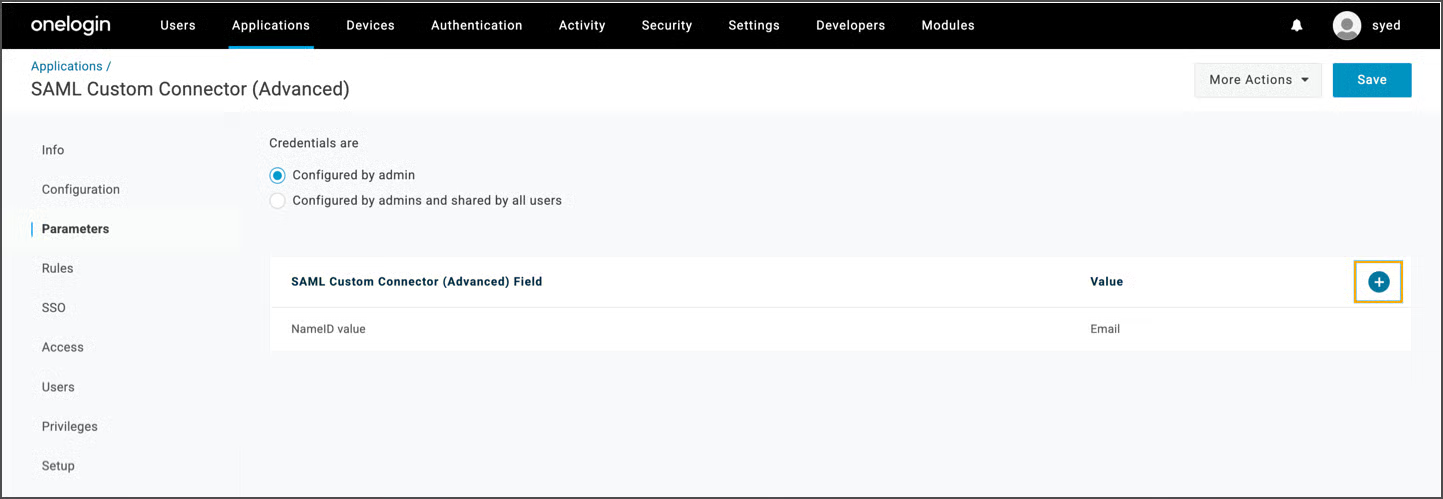 * Add fields such as Email, First Name, Last Name, and Member Of. For example:
* Email → Include in SAML assertion\
\
\

* First Name → Value: First Name
* Last Name → Value: Last Name
* Member Of → Value: User Role
* Click **Save** after adding each parameter.
* Add fields such as Email, First Name, Last Name, and Member Of. For example:
* Email → Include in SAML assertion\
\
\

* First Name → Value: First Name
* Last Name → Value: Last Name
* Member Of → Value: User Role
* Click **Save** after adding each parameter.
 ### Create roles and groups
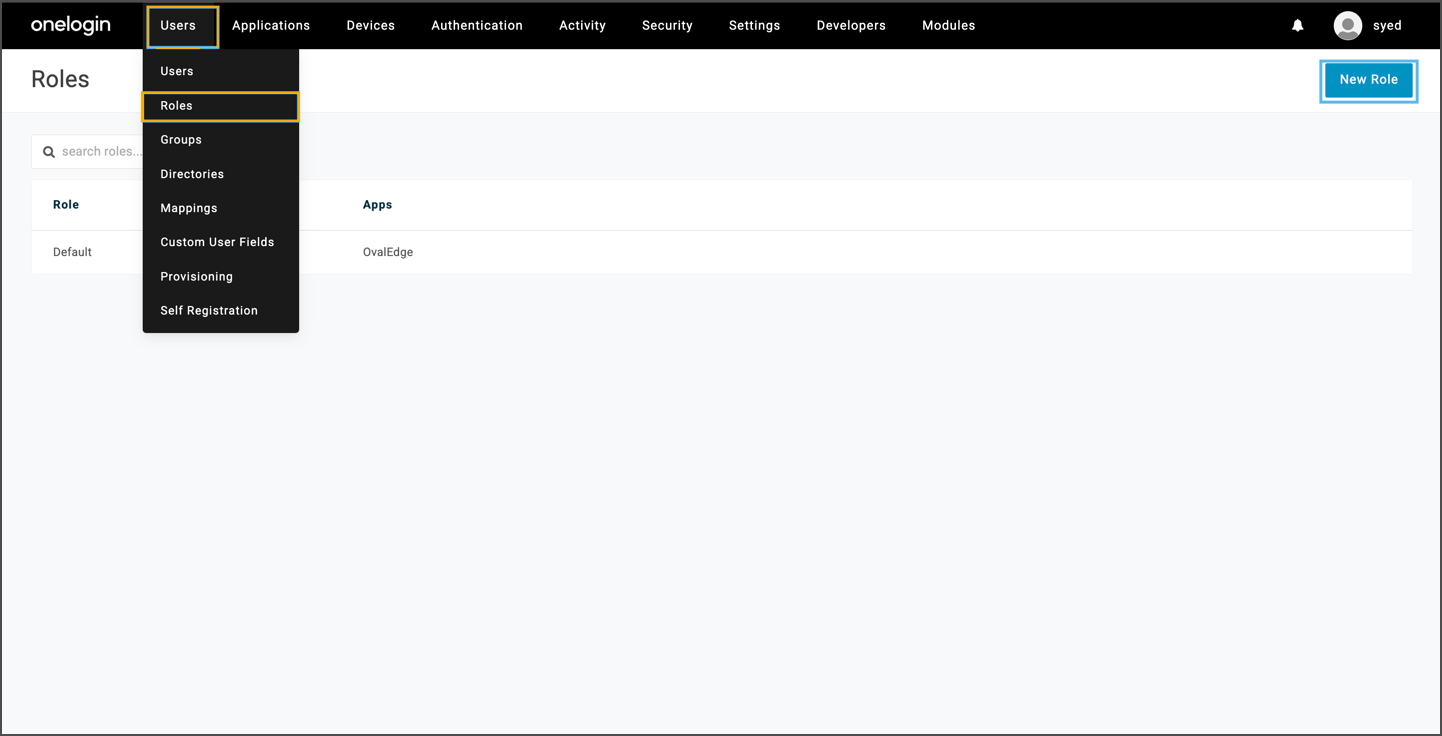
* Go to **Users > Roles > Add New Role**.
### Create roles and groups
* Go to **Users > Roles > Add New Role**.
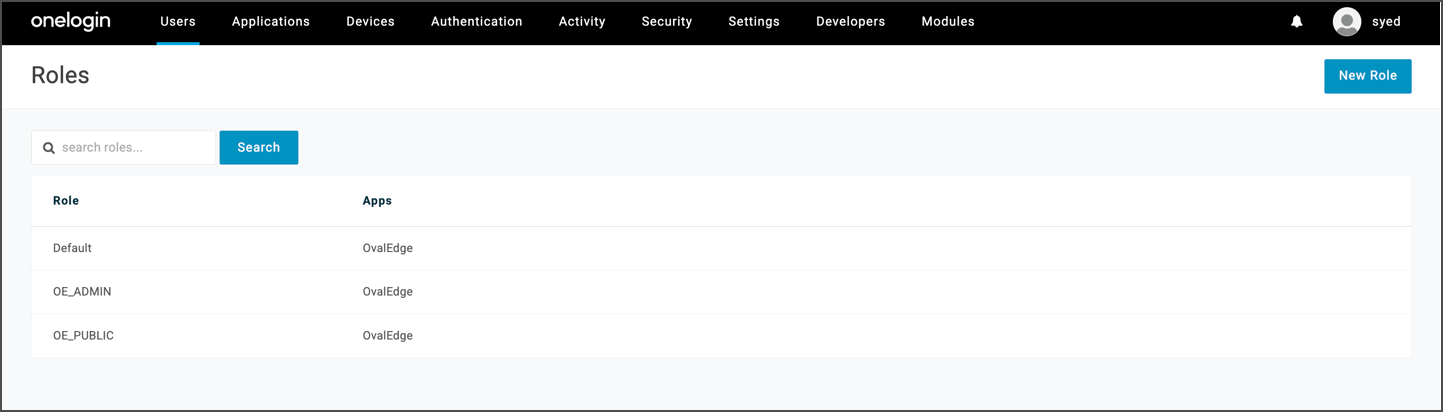
 * Assign a name (for example, *OE\_ADMIN*, *OE\_PUBLIC*).
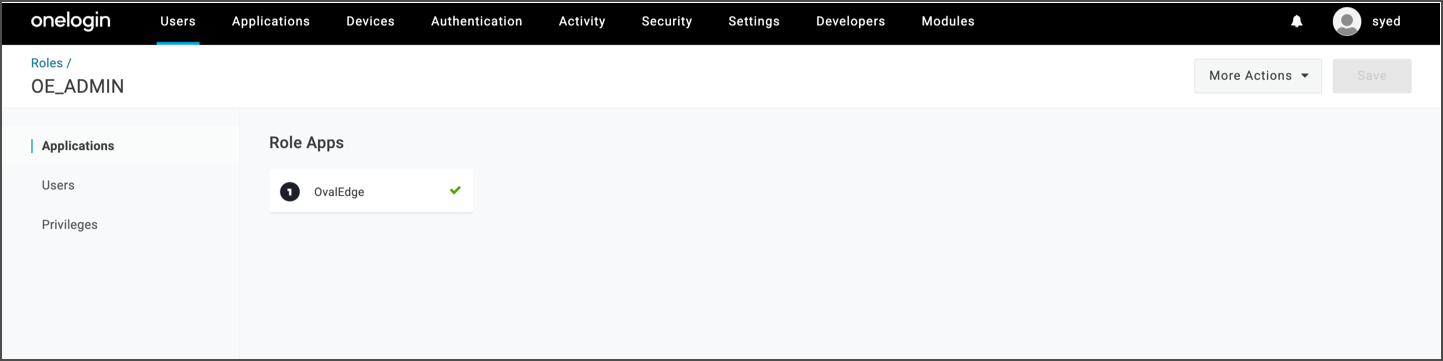 * Associate it with the application. Click Save. The created roles display as follows:
 * Navigate to **Groups > Add Group.**
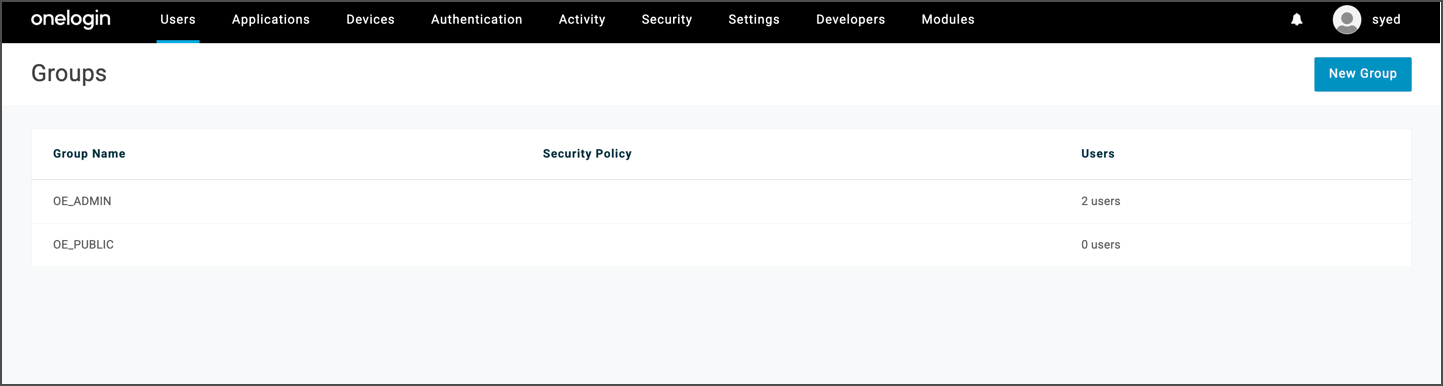
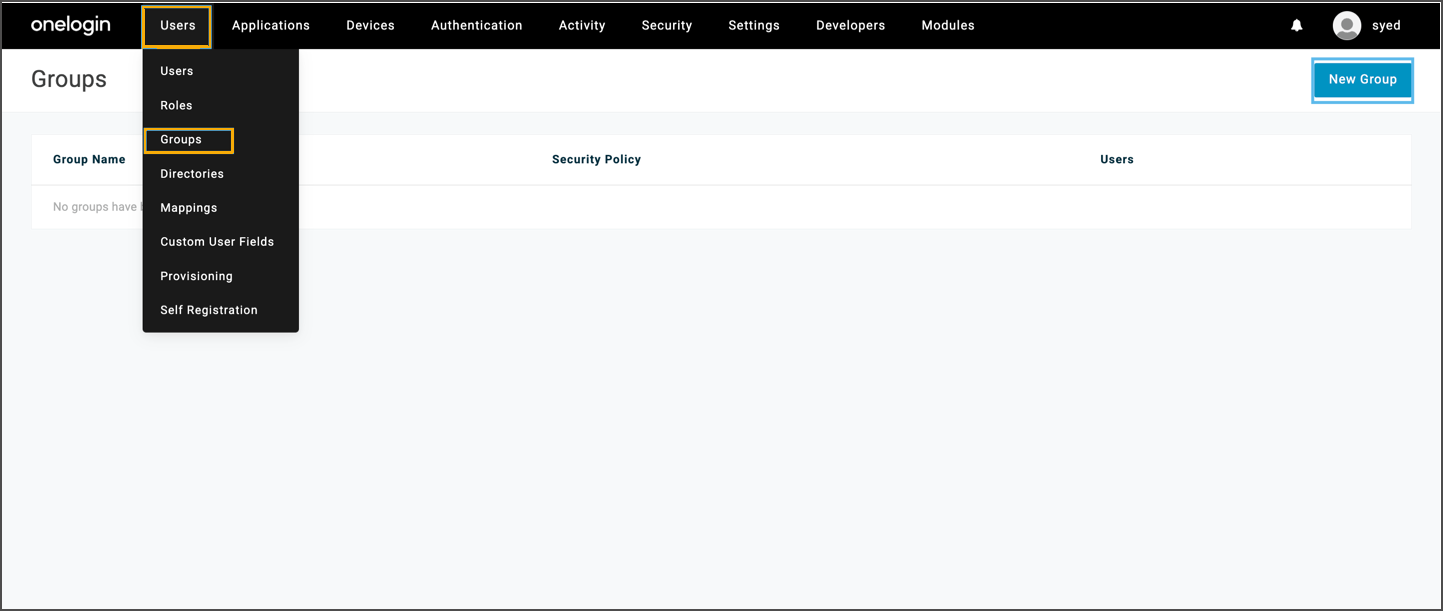 * Set a group name, and save.
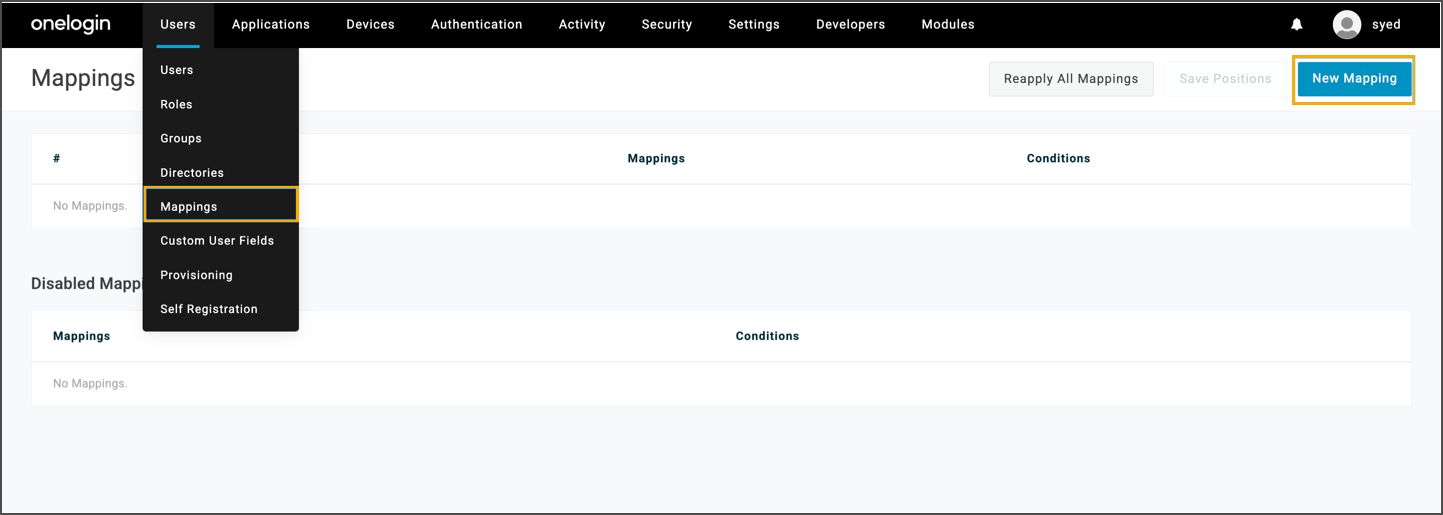
 * Define mappings under **Mappings > New Mapping** as needed.
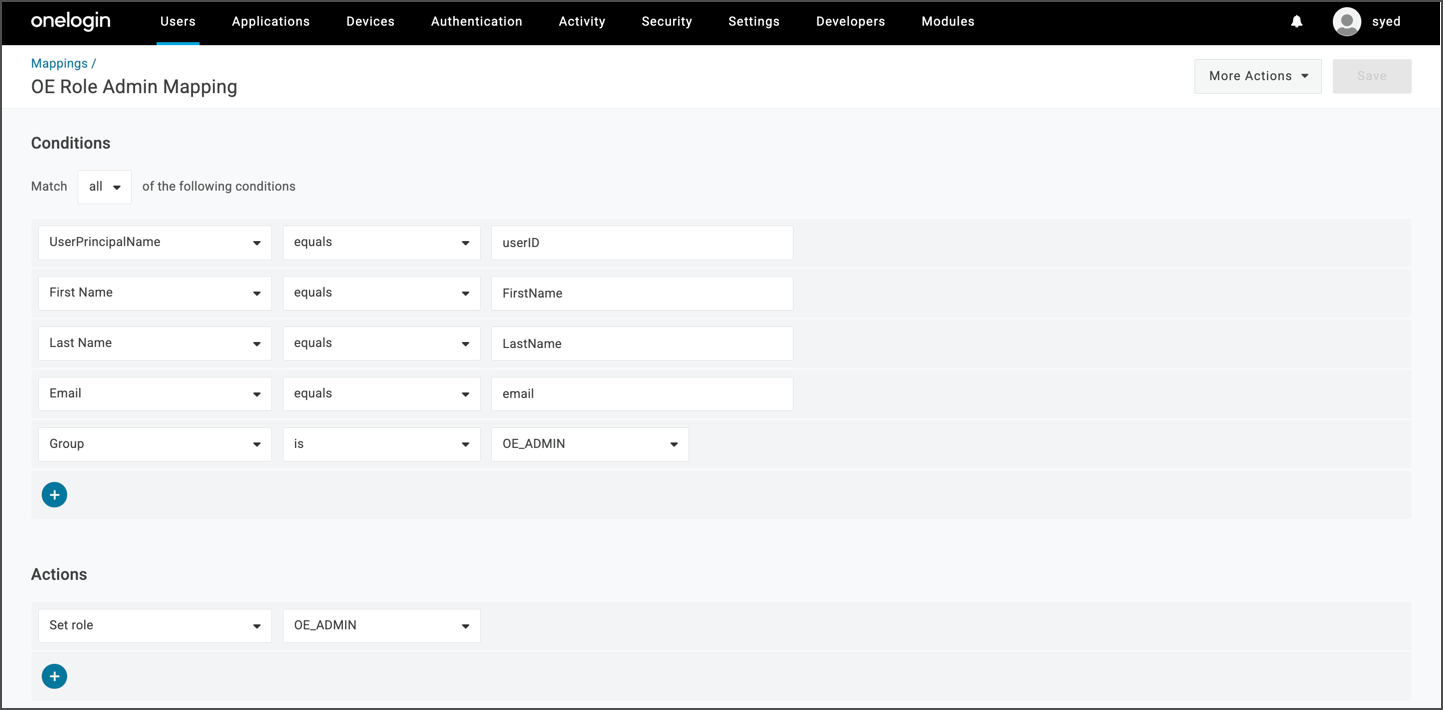
 * The Admin Role Mapping displays as follows:
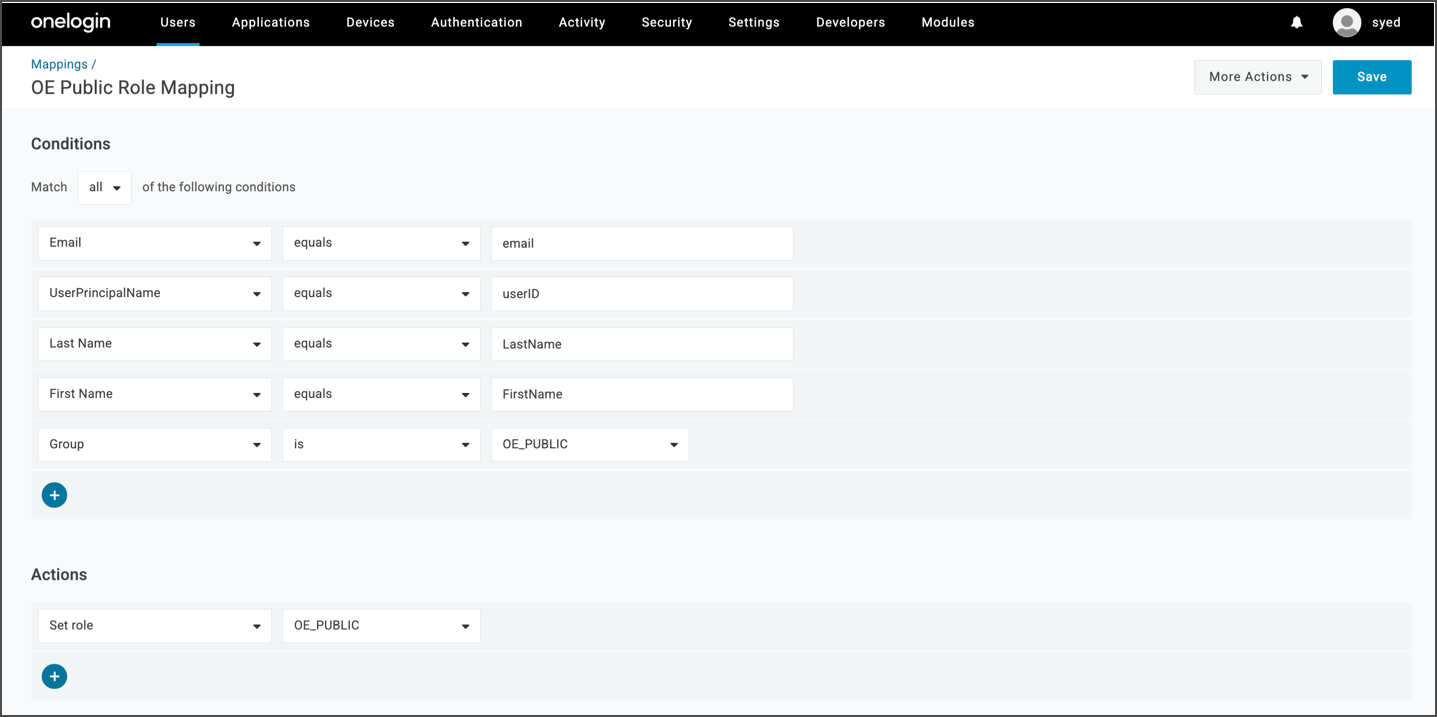
 * The Public Role Mapping displays as follows:
 ### Add users
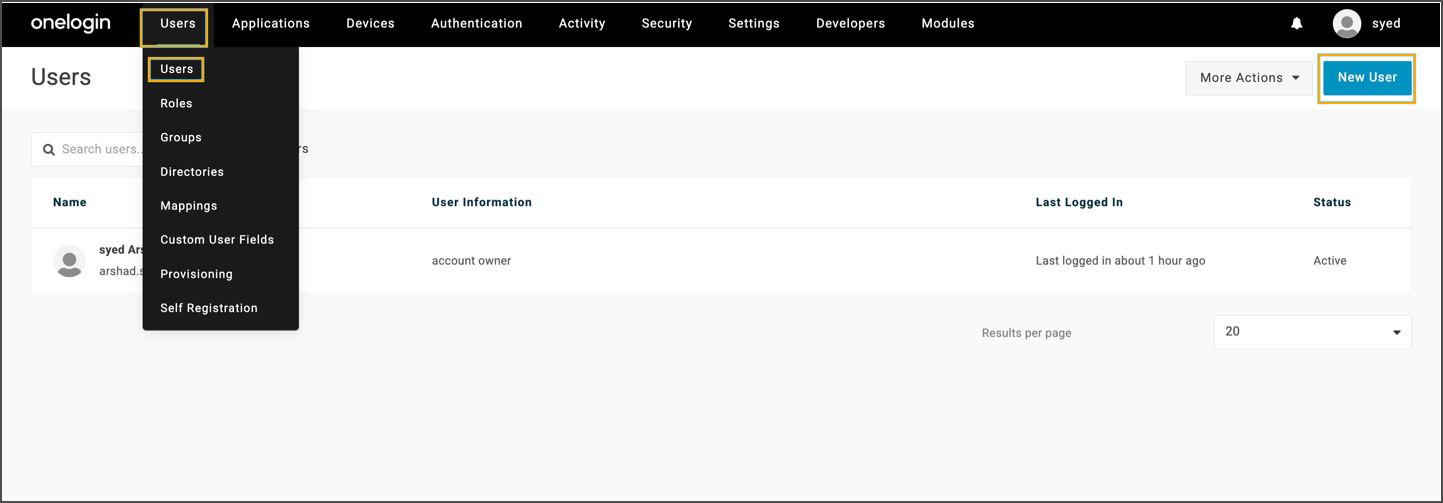
* Select **Users > New User.**
### Add users
* Select **Users > New User.**
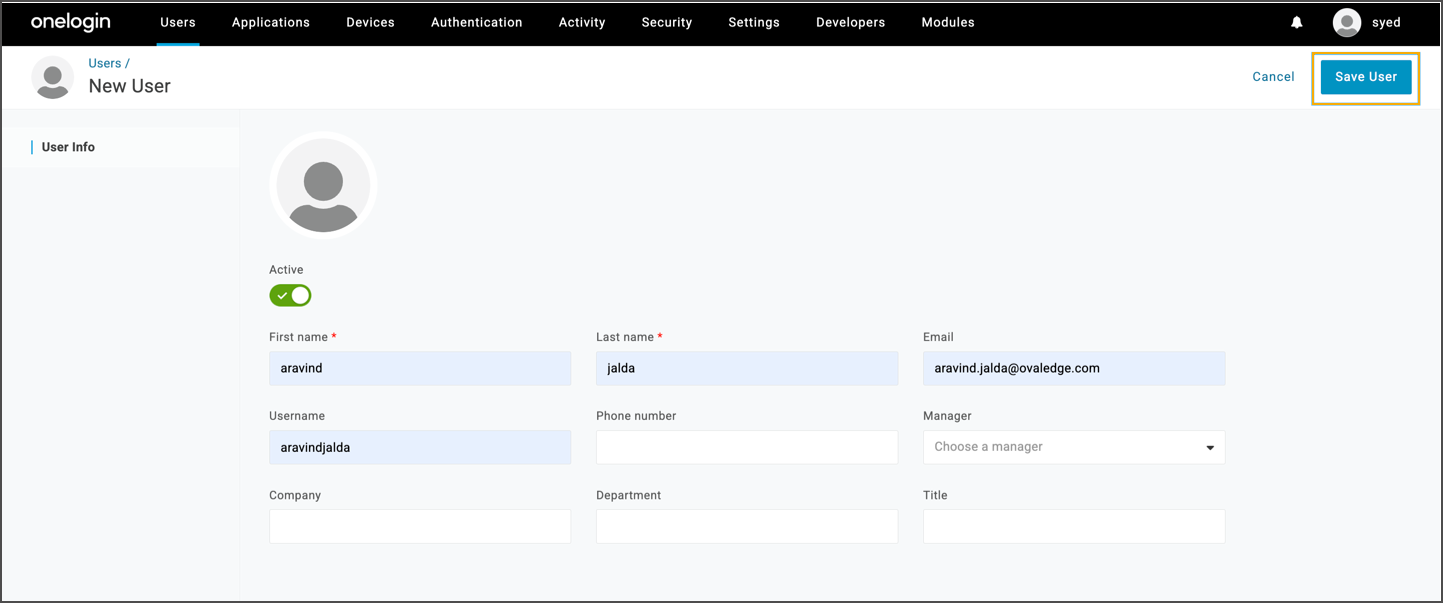
 * Fill in user details, and clicking **Save User**.
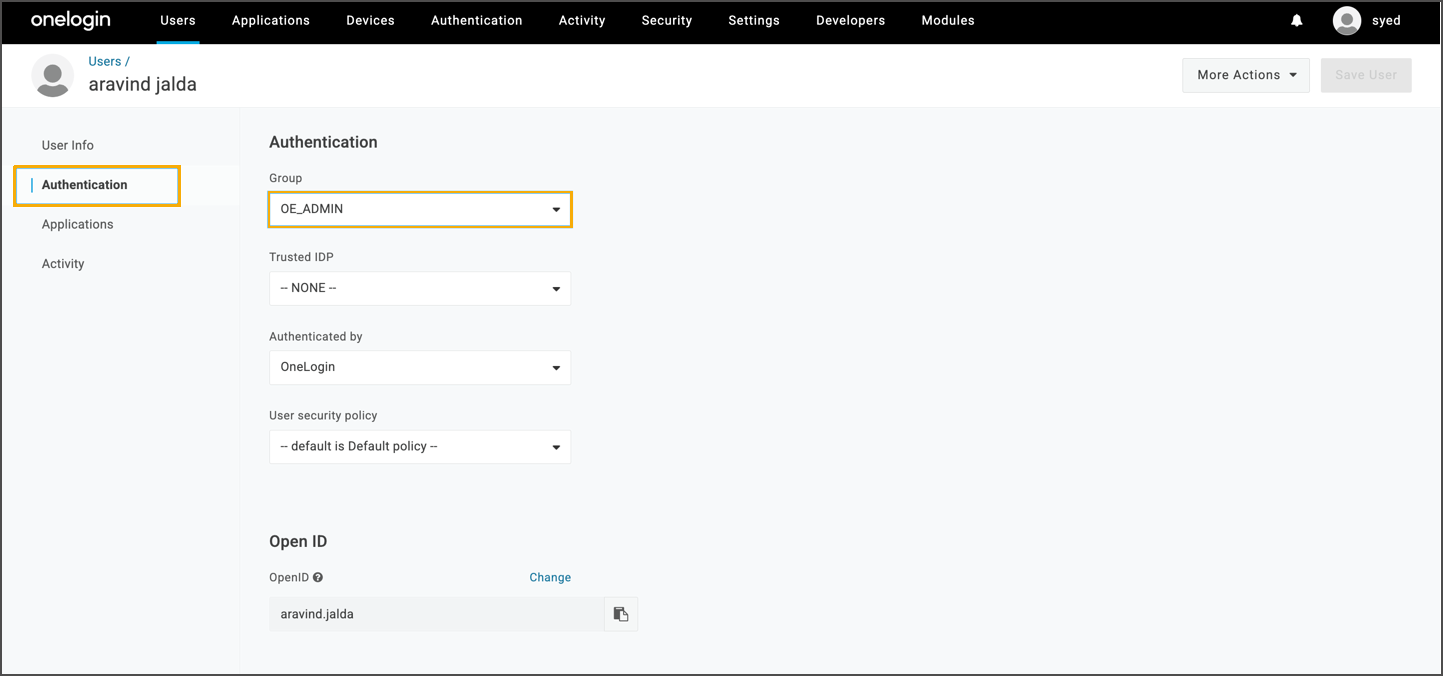
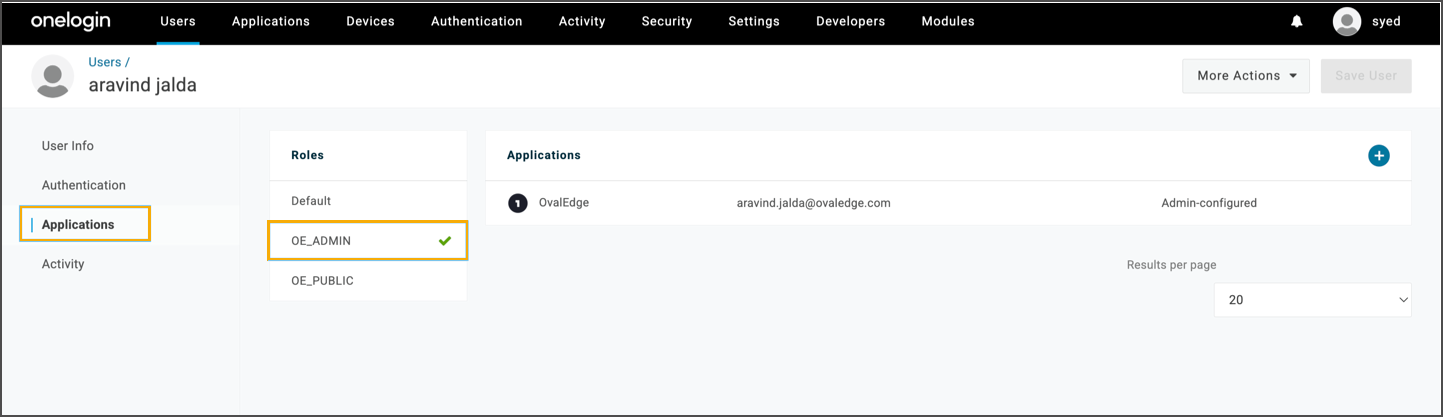
 * In the **Authentication** tab, assign the created group.
 * From the **Applications** section, assign the role and save.
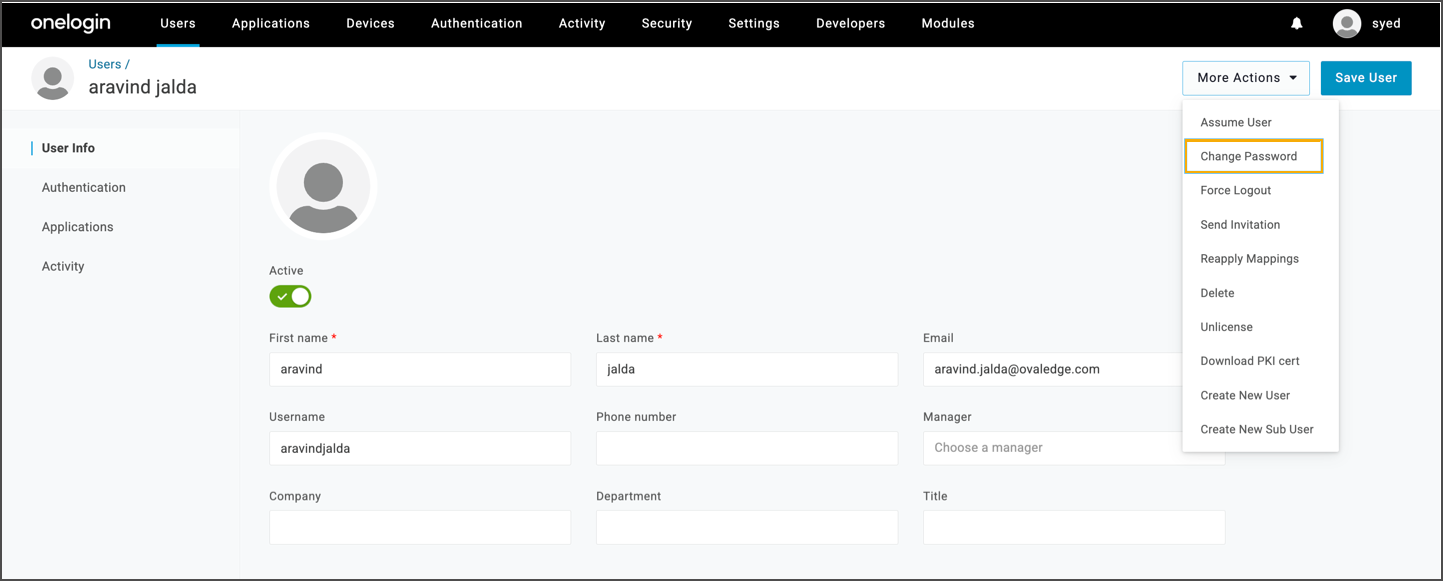
 * Set a password by selecting **More Actions > Change Password**.
 ### Obtain SAML Metadata
* Navigate to **Applications > SSO > More Actions > SAML Metadata**.
### Obtain SAML Metadata
* Navigate to **Applications > SSO > More Actions > SAML Metadata**.
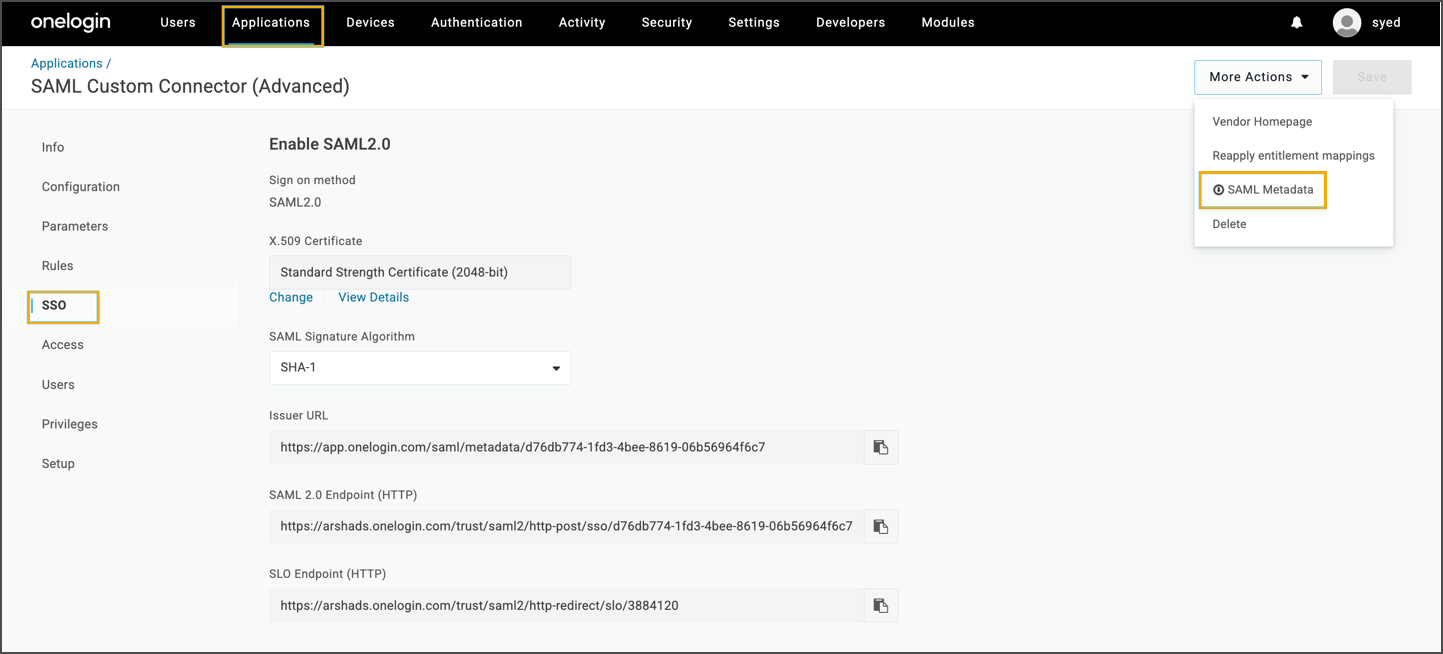 * Right-click and copy the metadata link.
### Configure the OvalEdge Application
* Login in to the OvalEdge VM.
* Go to the `extprop` folder, edit the `oasis.properties` file, and set the `samlHTTPMetadataProvider` parameter with the copied metadata link.
* Right-click and copy the metadata link.
### Configure the OvalEdge Application
* Login in to the OvalEdge VM.
* Go to the `extprop` folder, edit the `oasis.properties` file, and set the `samlHTTPMetadataProvider` parameter with the copied metadata link.
 * Navigate to the Tomcat bin folder and:
* For Linux: edit `setenv.sh`
* For Windows: edit `tomcat9w`
* Add or modify the parameter:
```
-DOVALEDGE_SECURITY_TYPE=saml
```
* Navigate to the Tomcat bin folder and:
* For Linux: edit `setenv.sh`
* For Windows: edit `tomcat9w`
* Add or modify the parameter:
```
-DOVALEDGE_SECURITY_TYPE=saml
```
 * Save the changes and restart Tomcat services.
### Verify SSO Configuration
* Open the OvalEdge application URL in a browser.
* Select **Continue with SSO.**
* Save the changes and restart Tomcat services.
### Verify SSO Configuration
* Open the OvalEdge application URL in a browser.
* Select **Continue with SSO.**
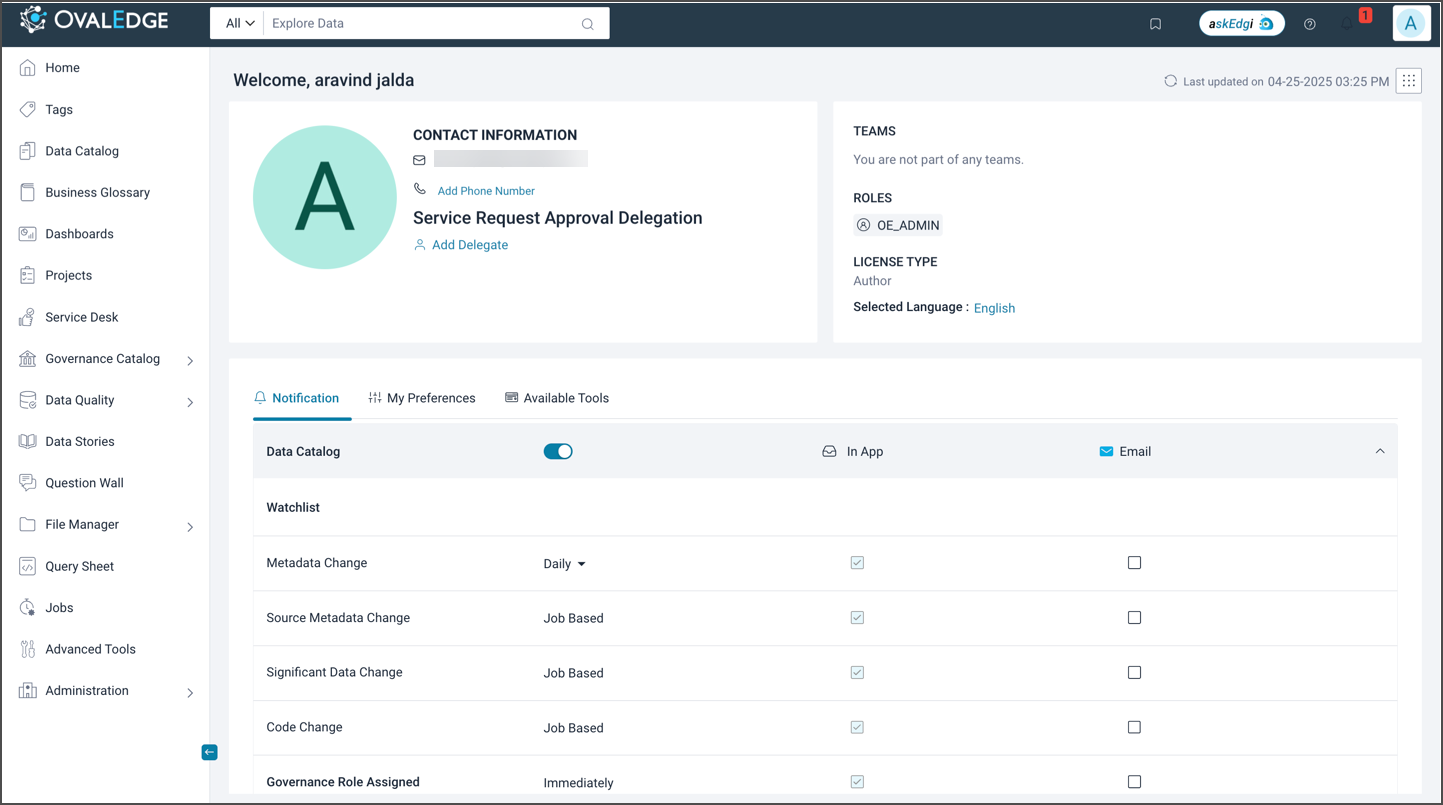
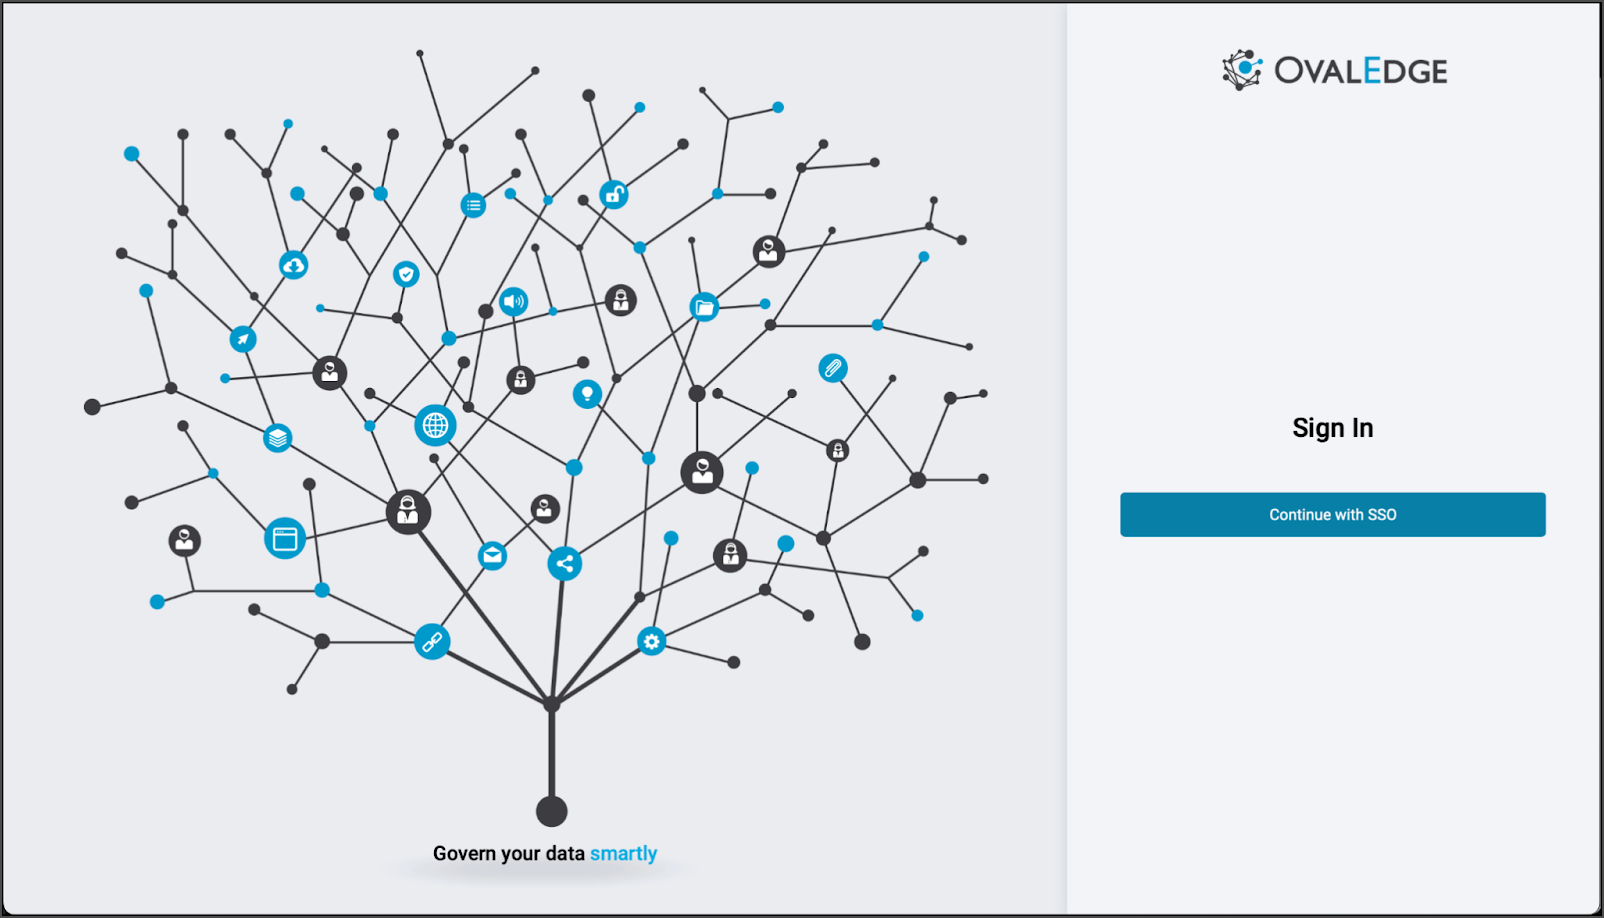 * Provide credentials.
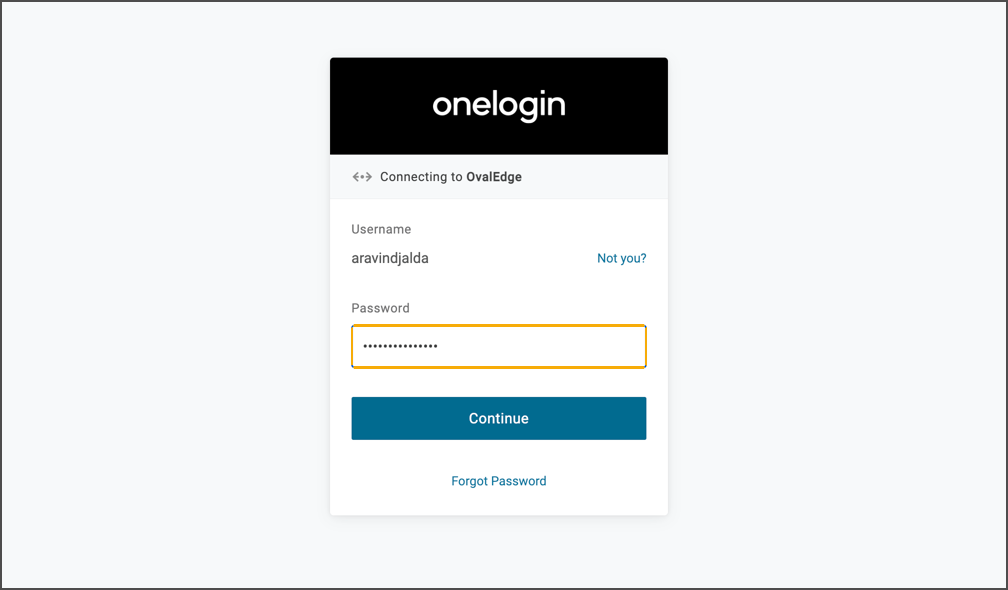 * Confirm login to OvalEdge via OneLogin SSO.
 ***
Copyright © 2025, OvalEdge LLC, Peachtree Corners, GA, USA.
---
# Agent Instructions
This documentation is published with GitBook. GitBook is the documentation platform designed so that both humans and AI agents can read, navigate, and reason over technical content effectively. Learn more at gitbook.com.
## Querying This Documentation
If you need additional information that is not directly available in this page, you can query the documentation dynamically by asking a question.
Perform an HTTP GET request on the current page URL with the `ask` query parameter, and the optional `goal` query parameter:
```
GET https://docs.ovaledge.com/release8.1/installation-and-settings/authentication-and-sso-setup/onelogin.md?ask=&goal=
```
`ask` is the immediate question: it should be specific, self-contained, and written in natural language.
`goal` is optional and describes the broader end goal you are ultimately trying to accomplish on behalf of the user. GitBook uses it to tailor the answer towards what is most useful for that goal.
The response will contain a direct answer to the question and relevant excerpts and sources from the documentation.
Use this mechanism when the answer is not explicitly present in the current page, you need clarification or additional context, or you want to retrieve related documentation sections.
***
Copyright © 2025, OvalEdge LLC, Peachtree Corners, GA, USA.
---
# Agent Instructions
This documentation is published with GitBook. GitBook is the documentation platform designed so that both humans and AI agents can read, navigate, and reason over technical content effectively. Learn more at gitbook.com.
## Querying This Documentation
If you need additional information that is not directly available in this page, you can query the documentation dynamically by asking a question.
Perform an HTTP GET request on the current page URL with the `ask` query parameter, and the optional `goal` query parameter:
```
GET https://docs.ovaledge.com/release8.1/installation-and-settings/authentication-and-sso-setup/onelogin.md?ask=&goal=
```
`ask` is the immediate question: it should be specific, self-contained, and written in natural language.
`goal` is optional and describes the broader end goal you are ultimately trying to accomplish on behalf of the user. GitBook uses it to tailor the answer towards what is most useful for that goal.
The response will contain a direct answer to the question and relevant excerpts and sources from the documentation.
Use this mechanism when the answer is not explicitly present in the current page, you need clarification or additional context, or you want to retrieve related documentation sections.