> For the complete documentation index, see [llms.txt](https://docs.ovaledge.com/llms.txt). Markdown versions of documentation pages are available by appending `.md` to page URLs; this page is available as [Markdown](https://docs.ovaledge.com/release8.1/installation-and-settings/authentication-and-sso-setup/adfs.md).
# ADFS
This article outlines the configuration and setup process for Active Directory Federation Services (ADFS) in a Windows environment. ADFS enables secure federated identity and access management by sharing digital identities and entitlement rights across security and enterprise boundaries. It extends single sign-on capabilities to Internet-facing applications, ensuring a seamless and secure authentication experience.
This document includes prerequisites, configuration procedures for ADFS, Directory Services, Federation Services, and Relying Party Trusts, as well as initial login instructions and troubleshooting guidance for common deployment issues.
## Purpose of the document
The purpose of this document is to provide clear, detailed, and professional guidance for configuring ADFS and DSFS to enable secure federated identity management and single sign-on (SSO) functionality for web-based applications.
## Prerequisites
Requirement
Details
ADFS Setup
Active Directory Federation Services must be installed and operational.
Windows Server Access
Administrative privileges are required
{% hint style="info" %}
Ensure the server is up to date with the latest security patches before proceeding.
{% endhint %}
## Directory Service Configuration
### Create Domain Users
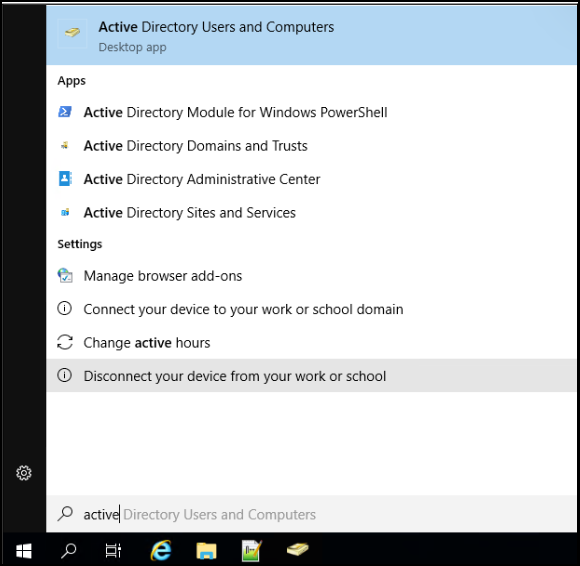
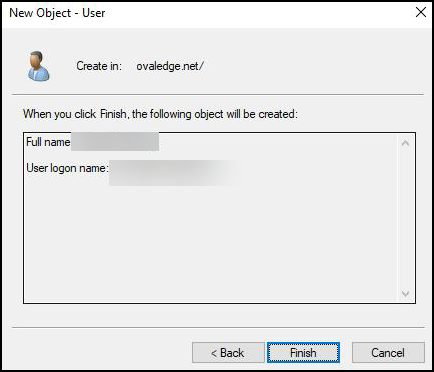
1. Open **Active Directory Users and Computers** on the Windows server.
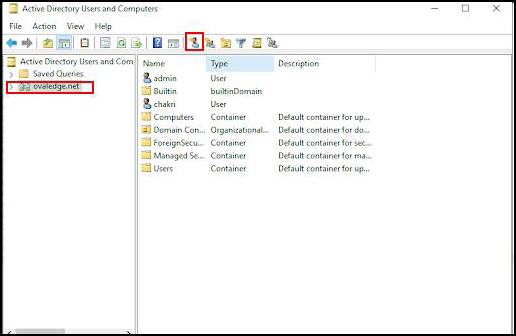
2. Navigate to the domain and click **User**.
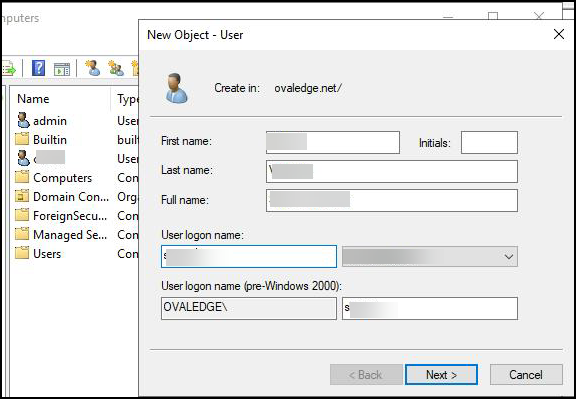
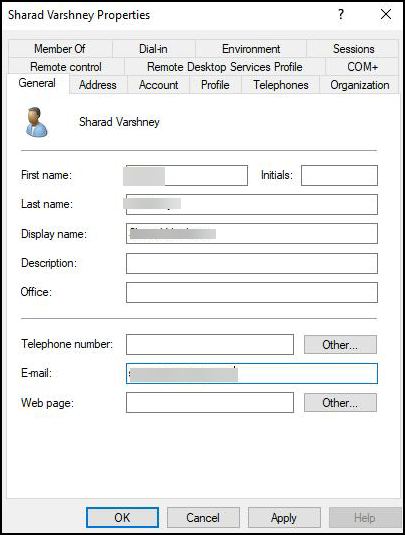
3. Enter the required user details.
4. Add an **email address** for the **domain user**.
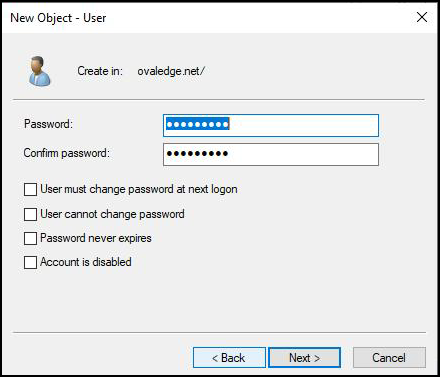
5. Click **Apply**, then **OK**.
6. Organize users into groups as needed.
{% hint style="warning" %}
Ensure usernames and email addresses follow the organization's naming conventions to avoid authentication issues.
{% endhint %}
## Federation Service Configuration
### Access ADFS Management
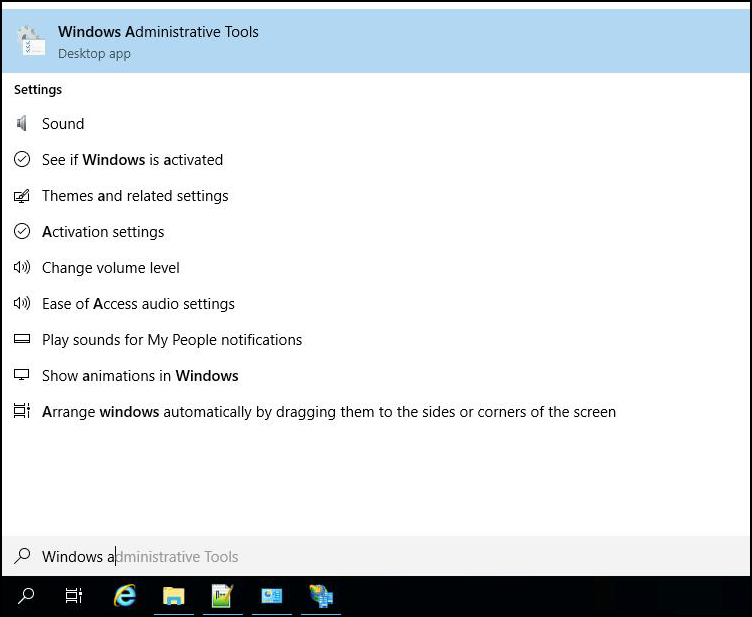
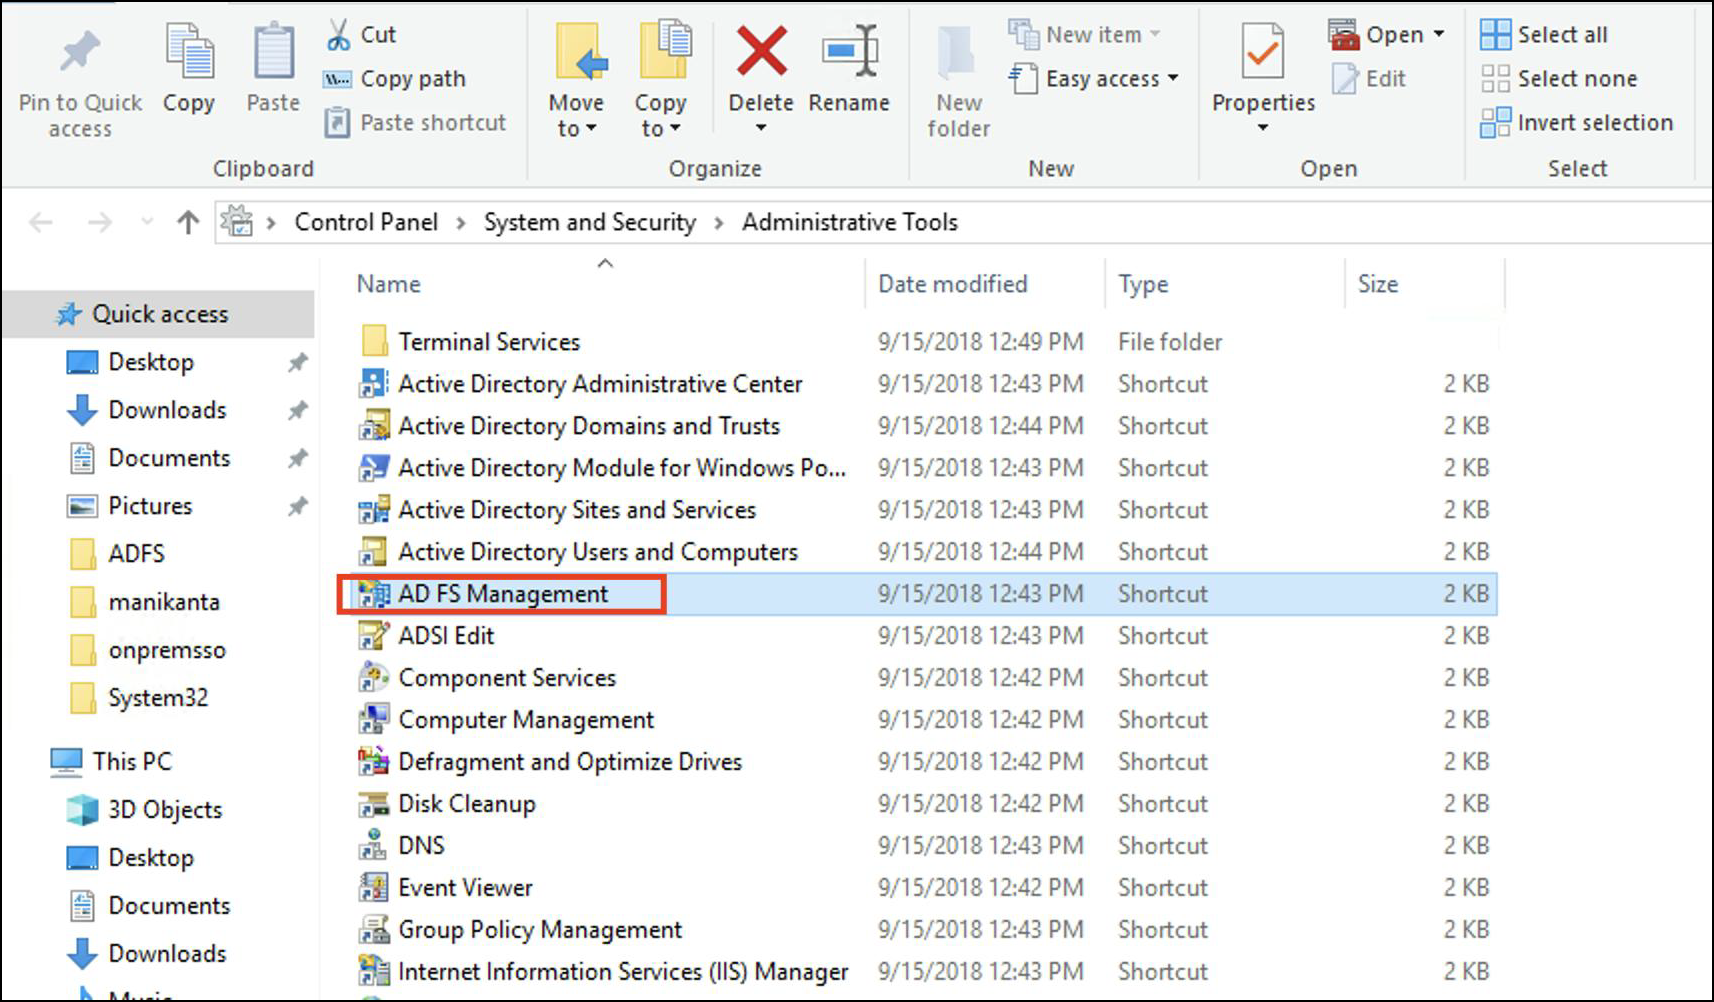
1. Open **Administrative Tools** from the **Start menu**.
2. Click **ADFS Management**.
### Download Federation Metadata
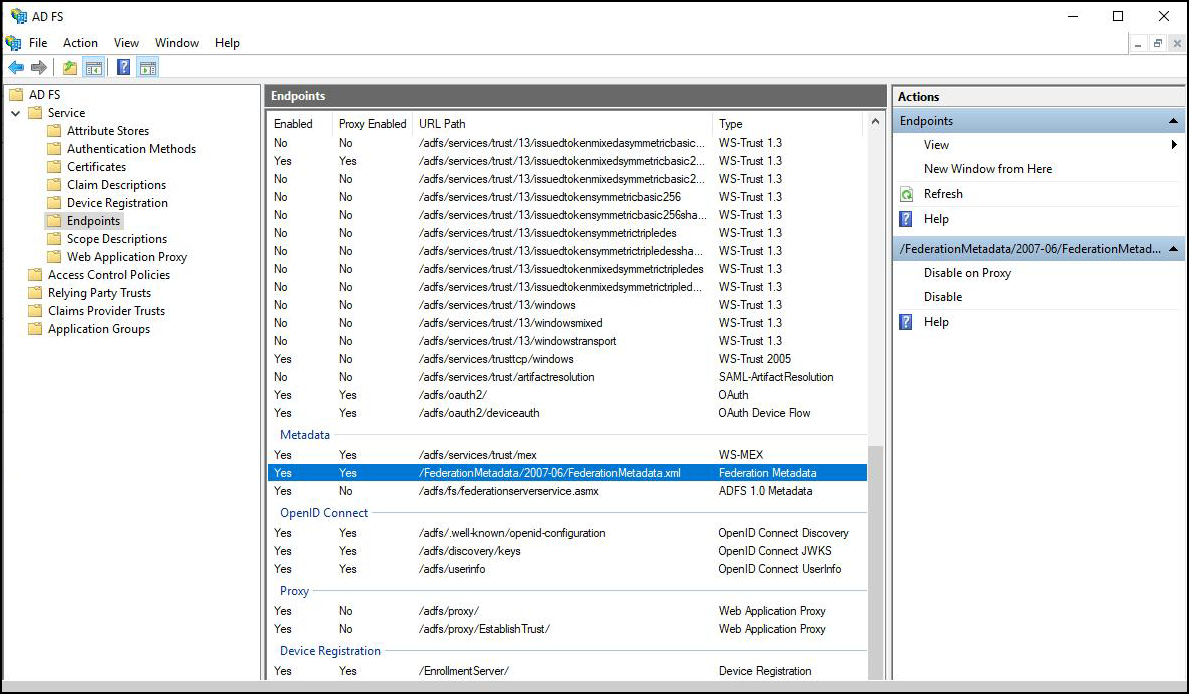
1. Go to **Service > Endpoints**.
2. Locate the metadata endpoint.
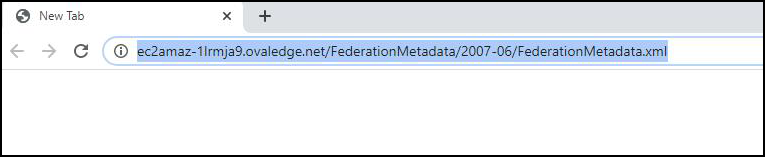
3. Append the path with **HTTPS** and the **ADFS server hostname or IP**.
**Example:**
```
https:///FederationMetadata/2007-06/FederationMetadata.xml
```
4. Download the **FederationMetadata.xml** file.
{% hint style="info" %}
The metadata URL must be accessible externally if required for integration with external systems.
{% endhint %}
### Import Signing Certificate
1. Obtain the signing certificate file **ADFScert.cer.**
2. Import it into the Tomcat SAML keystore using:
```
keytool -importcert -trustcacerts -alias "adfs" -keystore "C:\path\to\cacerts" -file
```
{% hint style="warning" %}
Back up the keystore before making changes to prevent loss of critical certificates.
{% endhint %}
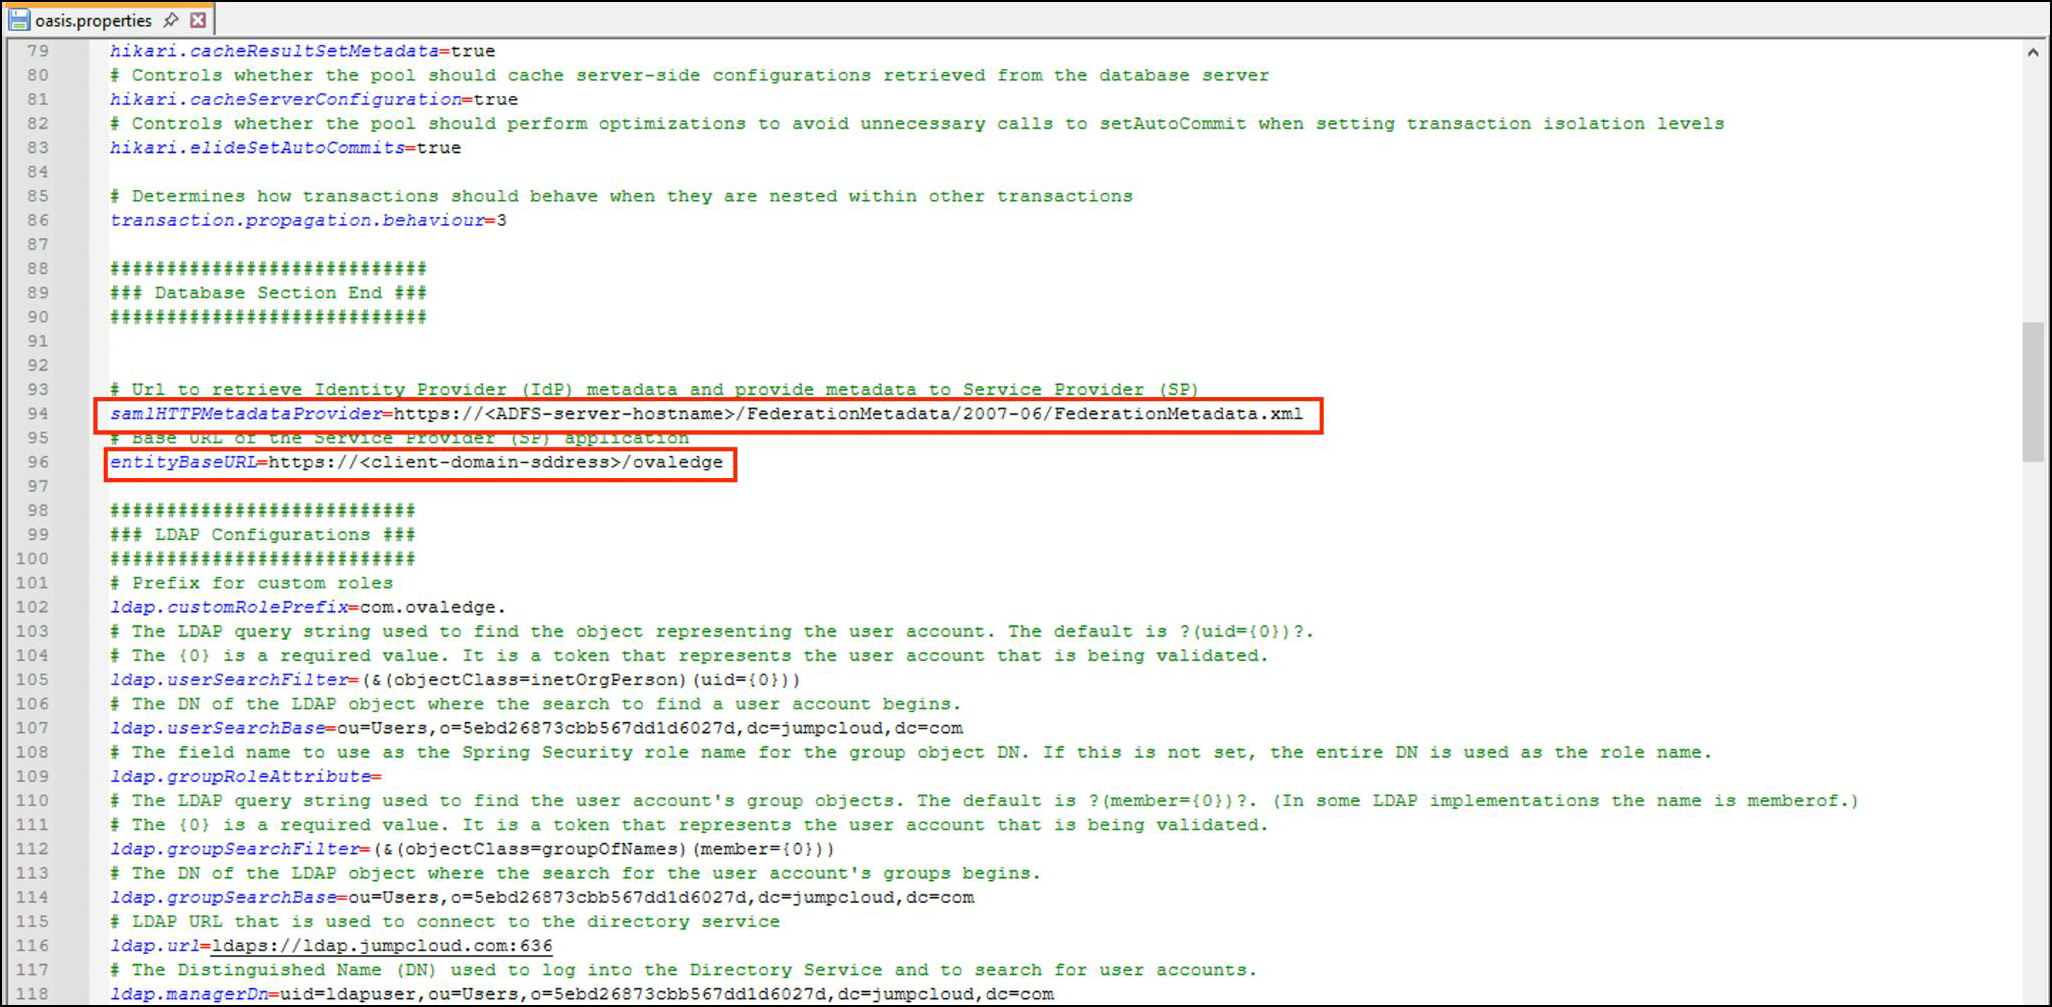
### Configure Oasis Properties
| Property | Value |
| ------------------------ | ---------------------------------------------- |
| samlHTTPMetadataProvider | Specify the appropriate URL or metadata source |
| entityBaseURL | Application deployment path |
**File Location:**
```
/home//path/to/extprop/oasis.properties
```
* After updating, **save** the file.
## Security Type Configuration
### Windows Configuration
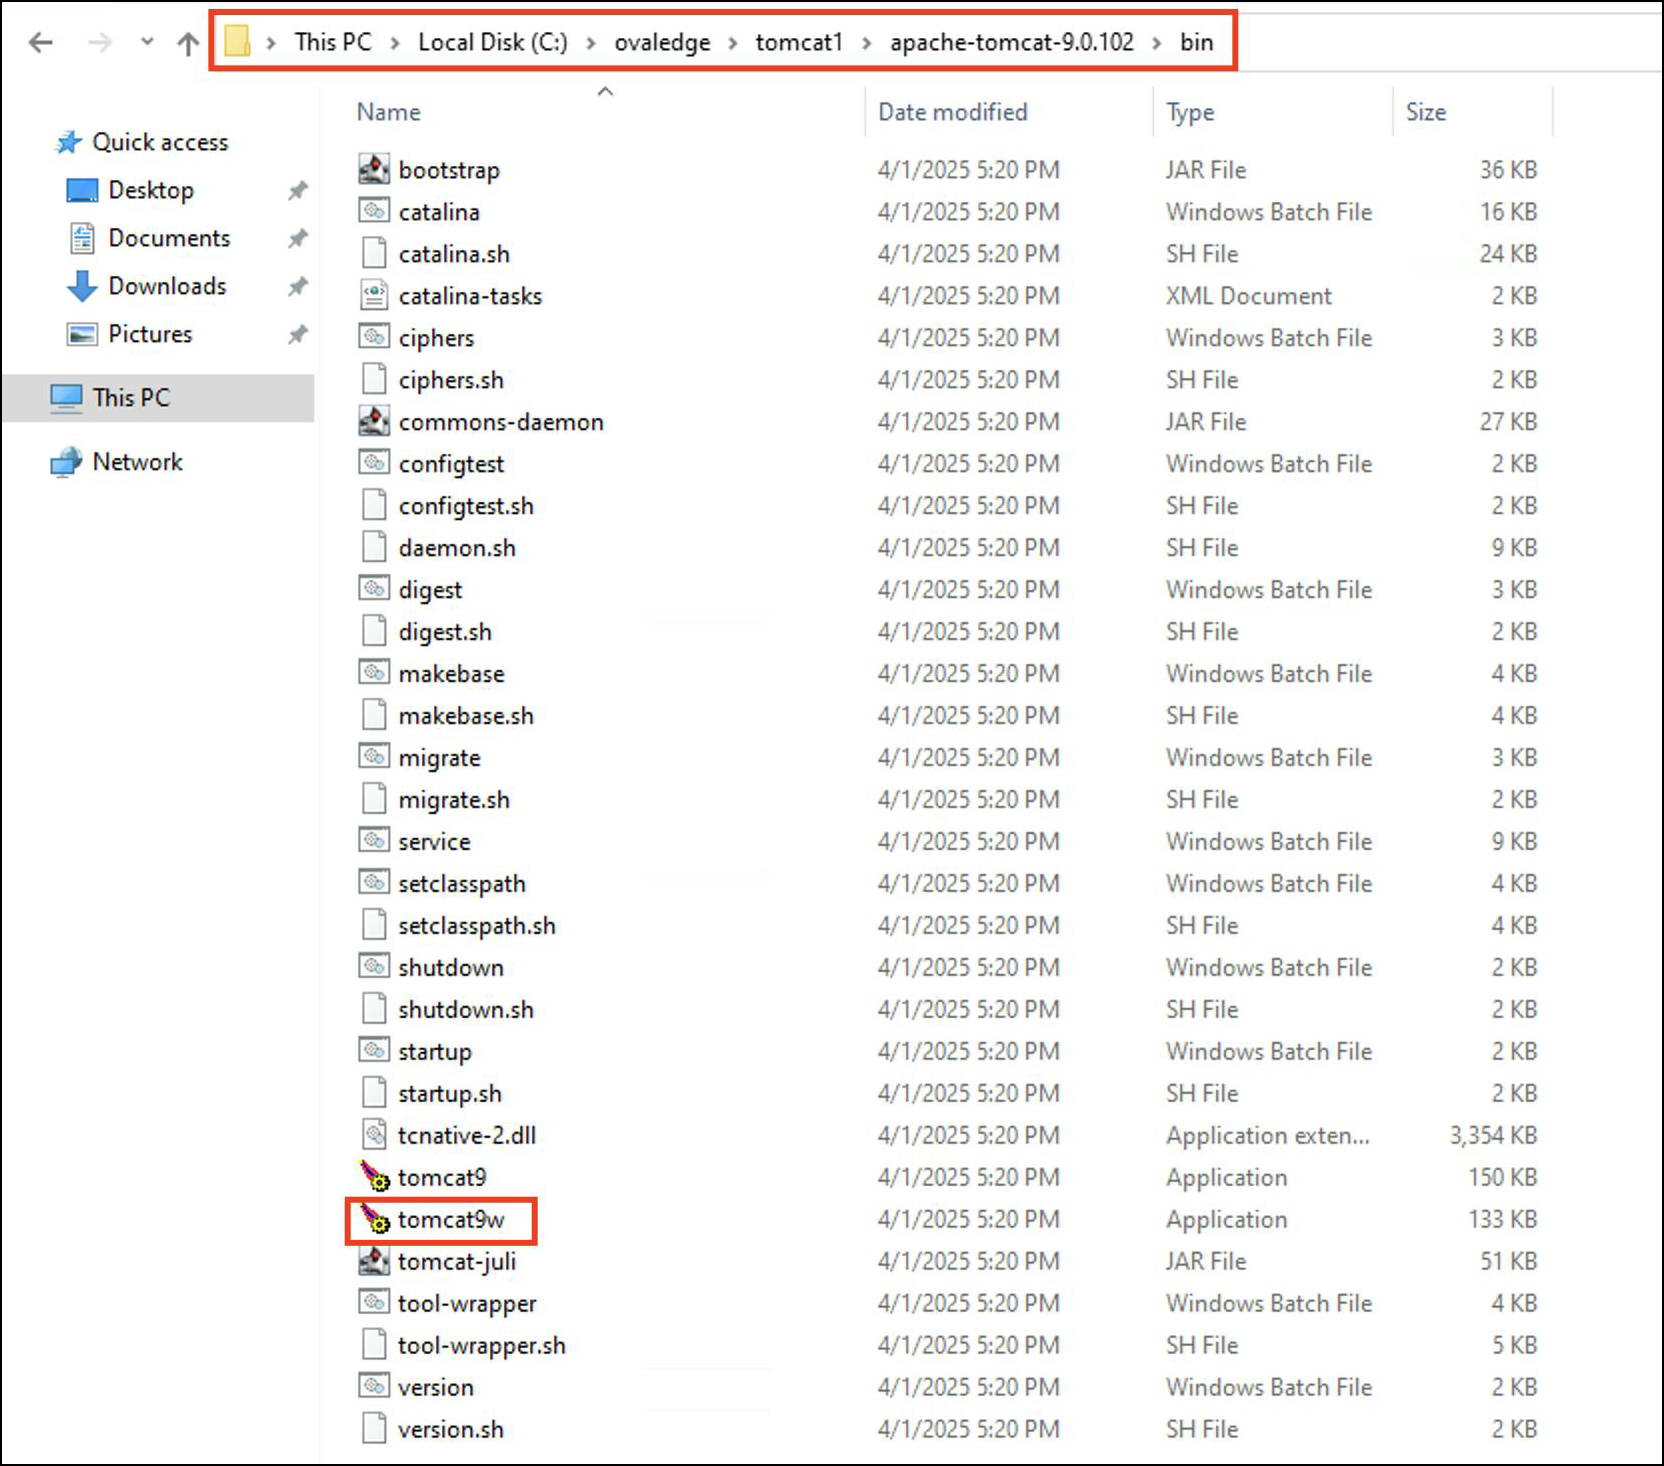
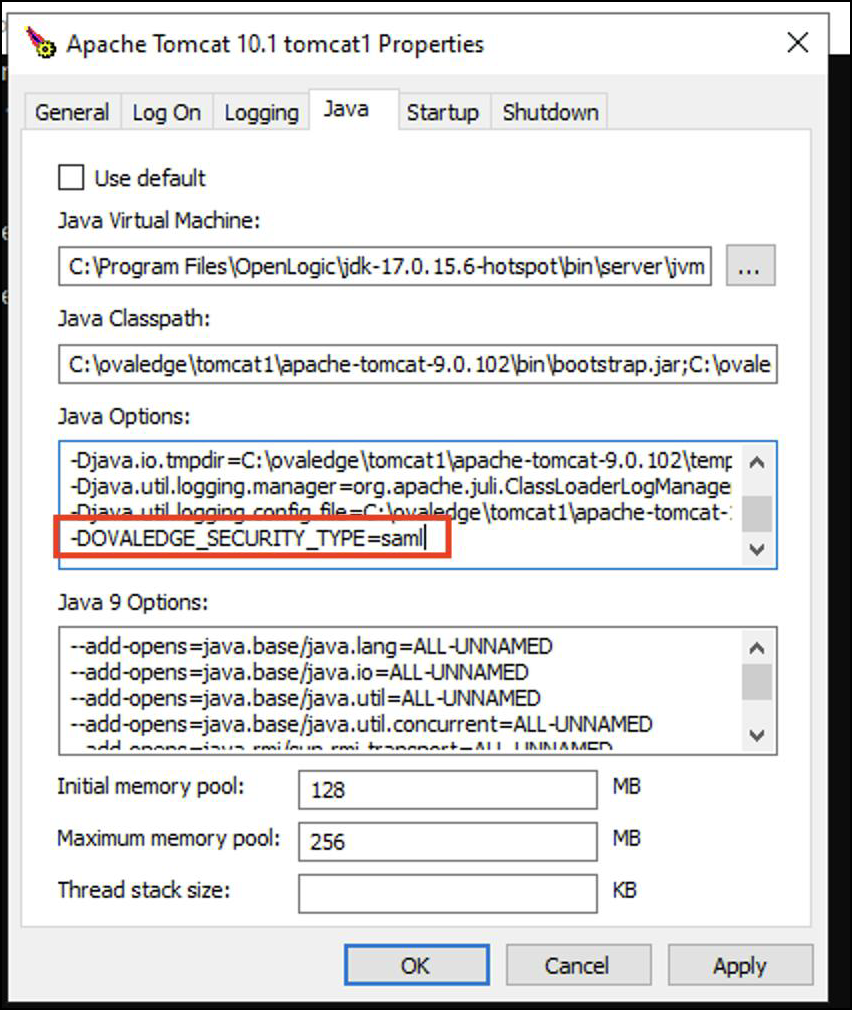
1. Open **tomcat9w\.exe.**
2. Go to **Java** Options.
3. Add the following parameter:
```
-DOVALEDGE_SECURITY_TYPE=saml
```
### Linux Configuration
1. Edit the setenv.sh file located at:
```
/home//tomcat_homepath/bin/setenv.sh
```
2. Add:
```
export CATALINA_OPTS="-DOVALEDGE_SECURITY_TYPE=saml"
```
3. **Save** the file and grant execute permission.
4. Restart **Tomcat**.
{% hint style="info" %}
A restart is required for changes to take effect.
{% endhint %}
## Relying Party Trust (ADFS) Configuration
### Add SAML Metadata
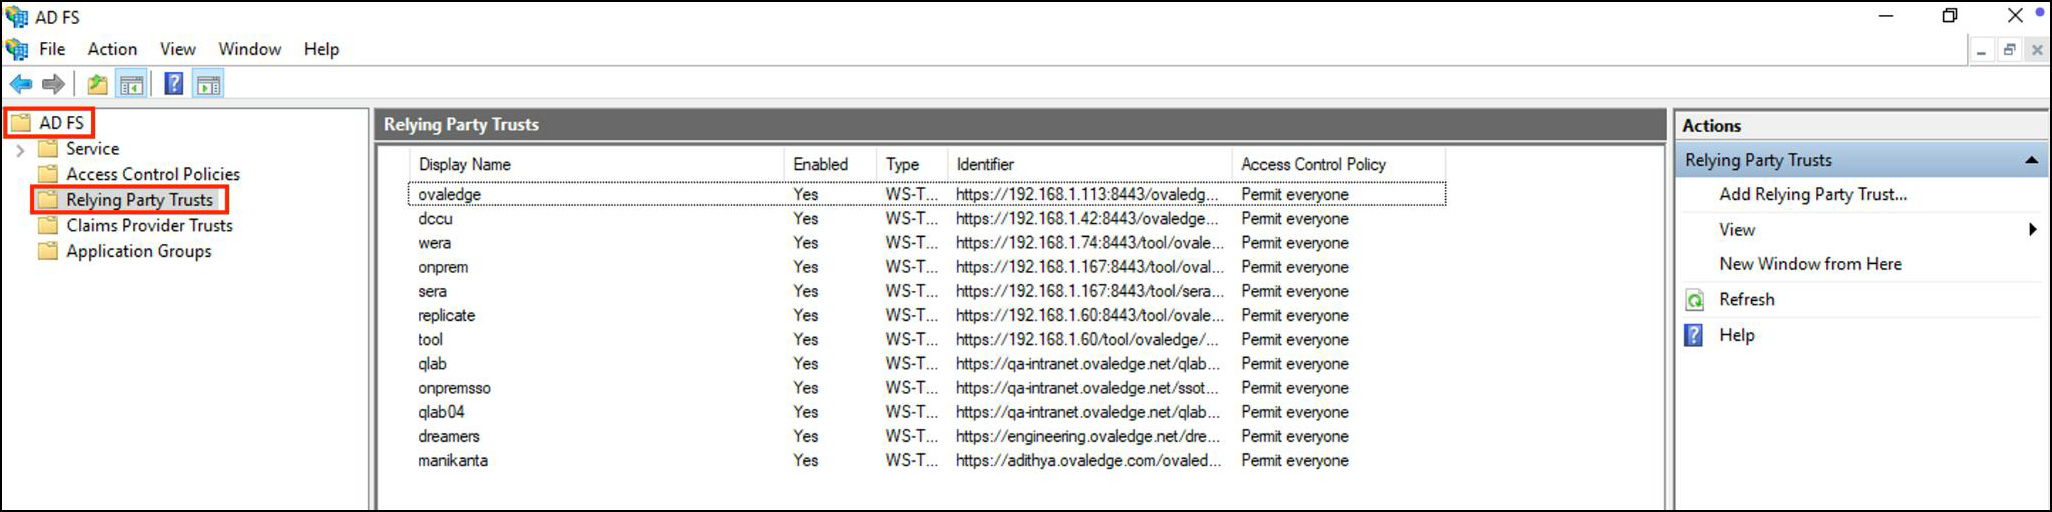
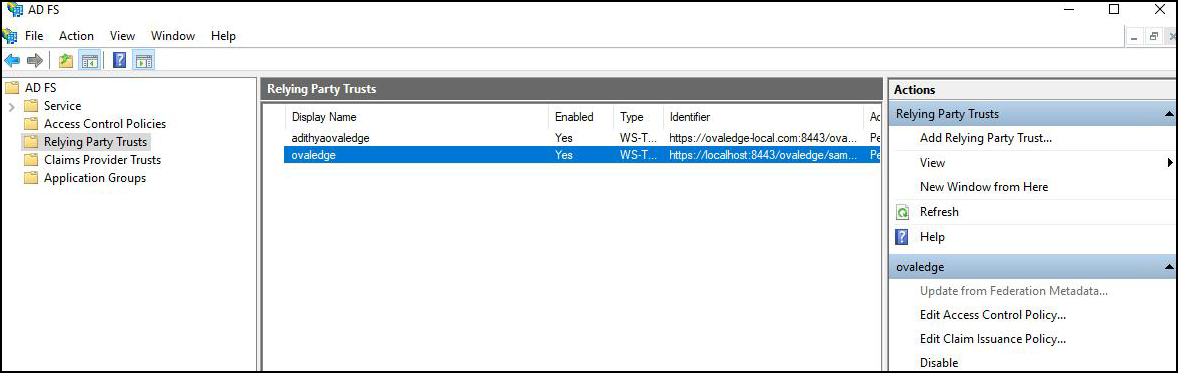
1. Navigate to **Relying Party Trust** in ADFS.
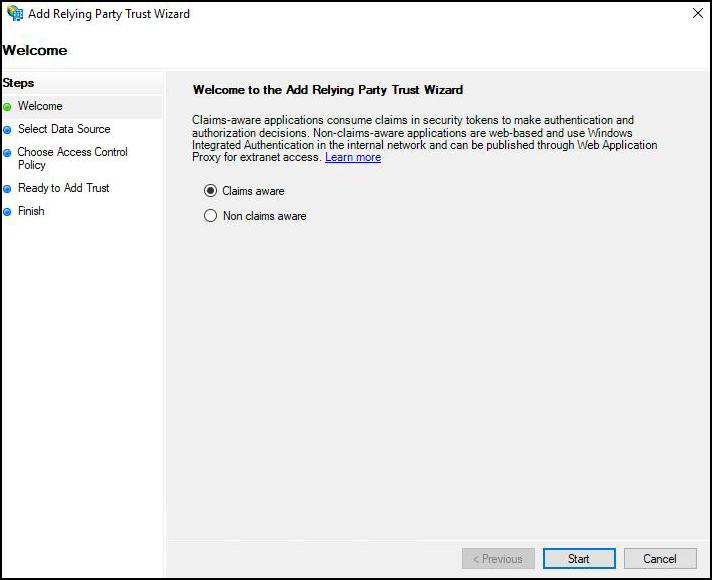
2. Click **Start** and add the SAML Metadata for the application.
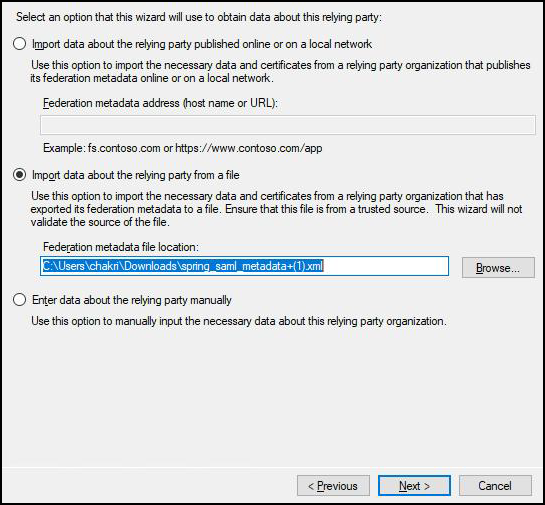
3. The metadata URL can be accessed as:
```
/home//tomcat_homepath/bin/setenv.sh
```
4. Import the metadata and click **Next**.
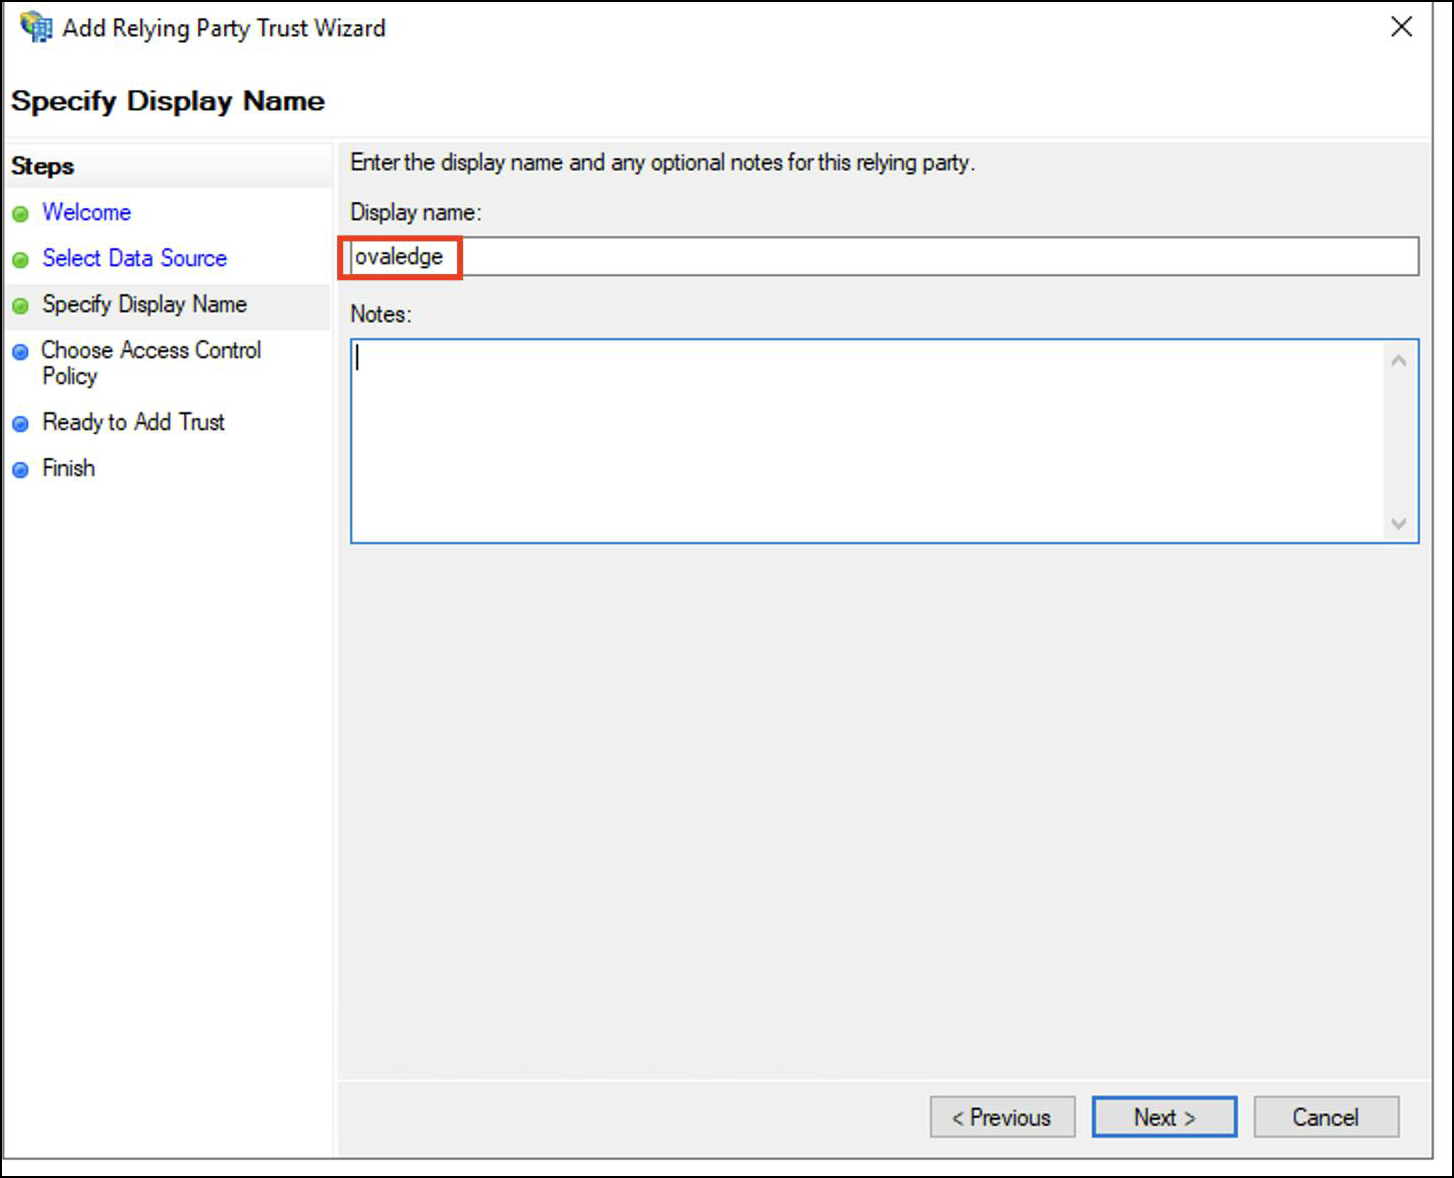
5. Specify the **Display Name**, and click **Next**.
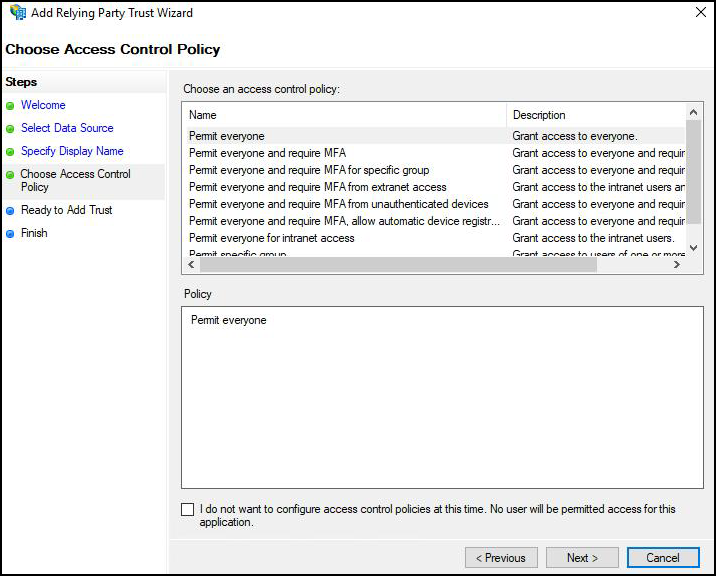
6. Select the **Access Control Policy**, and click **Next**.
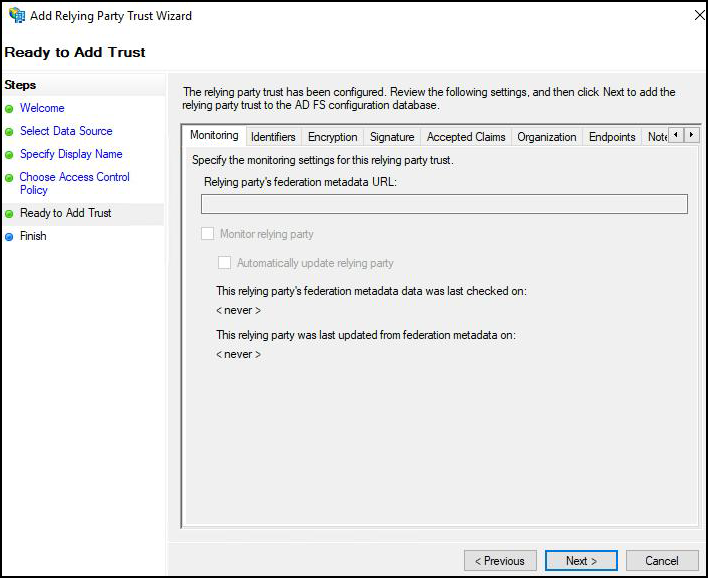
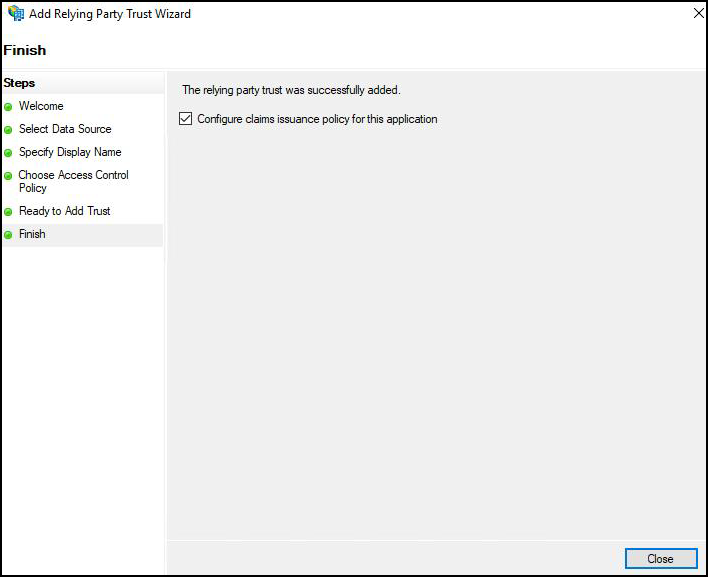
7. Click **Next** and finish the wizard.
{% hint style="warning" %}
Ensure the application URL is accessible before importing metadata.
{% endhint %}
### Configure Advanced Settings
1. Double-click on the added Relying Party Trust.
2. Open the added Relying Party Trust.
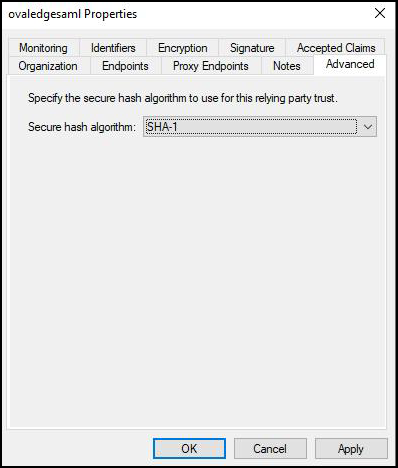
3. Select the **Advanced** tab.
4. Change **Secure Hash Algorithm** to **SHA1** from **SHA256**.
5. Click **Apply**, then **OK**.
### Edit Claim Issuance Policy
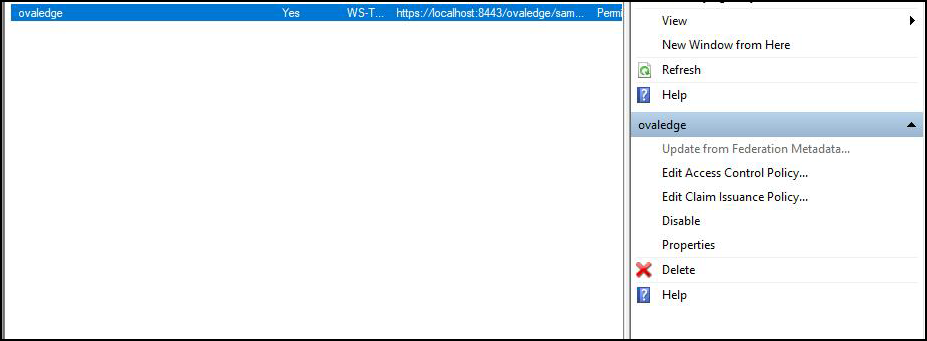
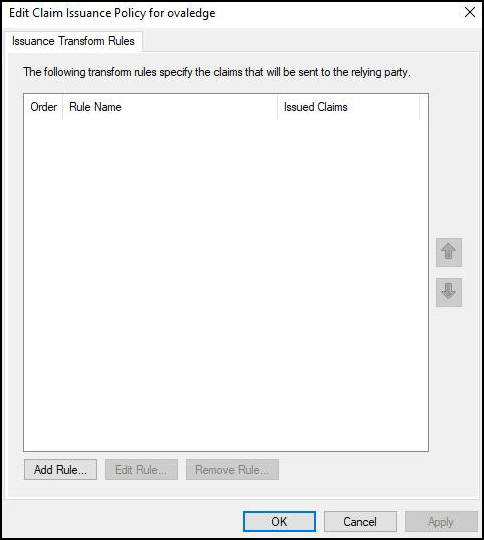
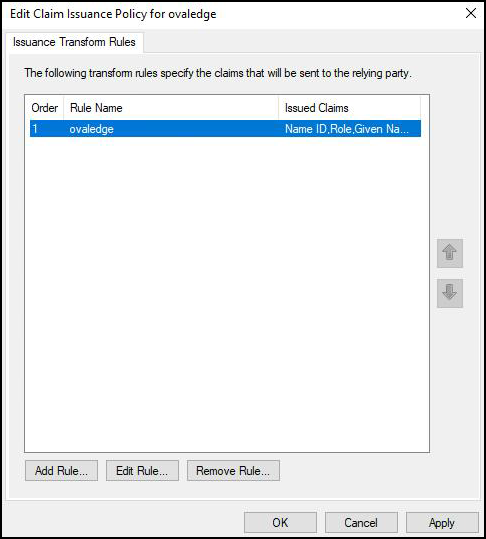
1. Select the configured Relying Party Trust and click **Edit Claim Issuance Policy.**
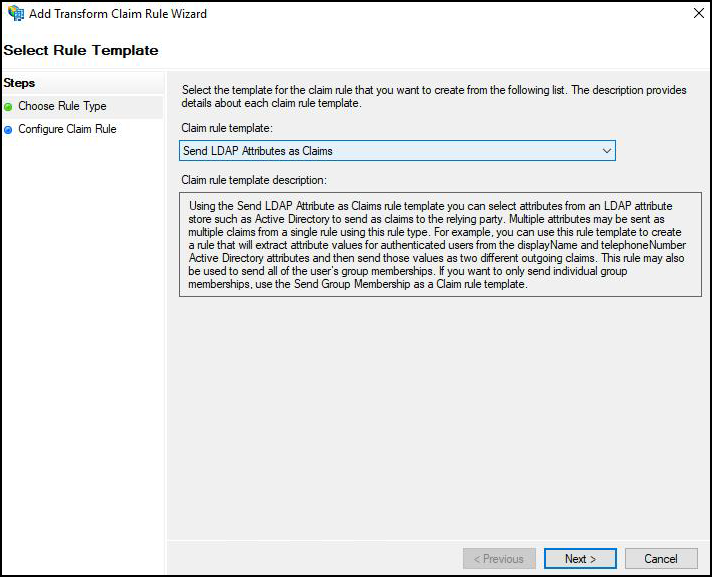
2. Add a **new rule** using **Send LDAP Attributes as Claims.**
3. Let the Claim Rule Template be sent to the LDAP Attribute as Claims, and click on **Next**.
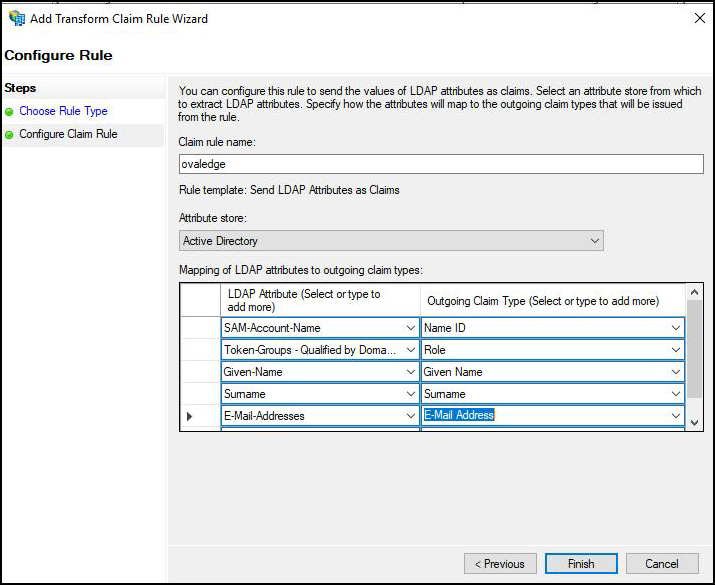
4. Specify the **Claim Rule Name**, and select **Active Directory** as the **Attribute Store**.\
Add the **Attributes** as given in the image below and click on **Finish**.
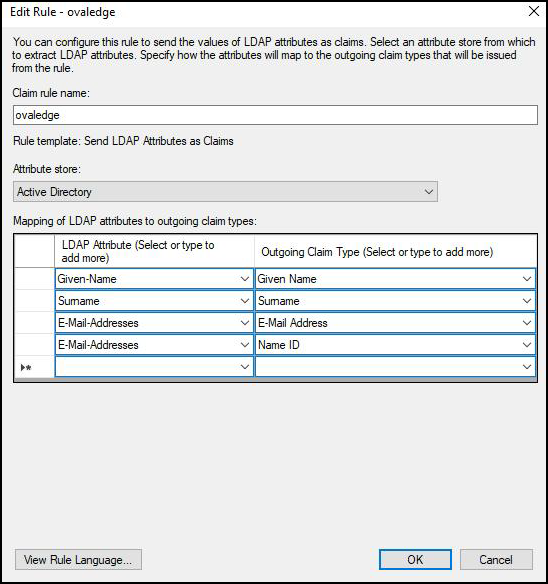
5. An alternative approach is to use the SAML Account Name if it is not available.
6. Click on **Apply** and **OK**.
7. Configure **attributes** as per application requirements.
**Example Attribute Mapping:**
| LDAP Attribute | Outgoing Claim Type |
| ---------------- | ------------------- |
| SAM-Account-Name | Name ID |
| E-Mail-Addresses | E-Mail Address |
## Initial Login and Setup
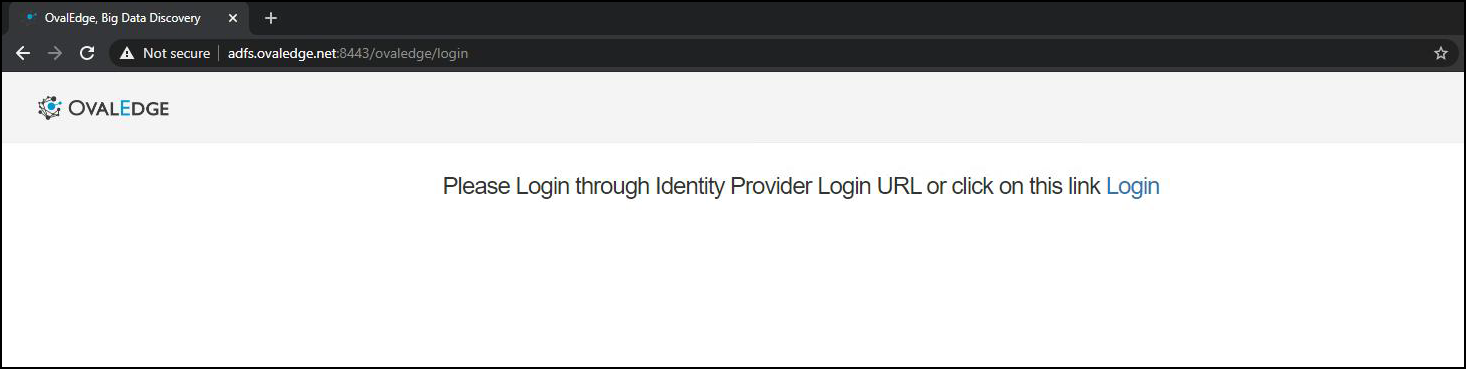
1. Access the application web URL through a browser.
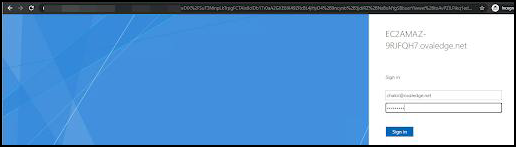
2. Log in using **domain admin credentials.**
{% hint style="warning" %}
At least one user must have the **OE\_ADMIN role**. This must be updated in the database before the initial login.
{% endhint %}
## Troubleshooting
### Issue 1: No assertions found in the response
**Solution:**
1. Open PowerShell on the **ADFS server.**
2. Run:
```
Set-ADFSRelyingPartyTrust -TargetName -SamlResponseSignature "MessageAndAssertion"
```
{% hint style="info" %}
Replace \ with the Display Name of the Relying Party Trust.
{% endhint %}
---
# Agent Instructions
This documentation is published with GitBook. GitBook is the documentation platform designed so that both humans and AI agents can read, navigate, and reason over technical content effectively. Learn more at gitbook.com.
## Querying This Documentation
If you need additional information that is not directly available in this page, you can query the documentation dynamically by asking a question.
Perform an HTTP GET request on the current page URL with the `ask` query parameter, and the optional `goal` query parameter:
```
GET https://docs.ovaledge.com/release8.1/installation-and-settings/authentication-and-sso-setup/adfs.md?ask=&goal=
```
`ask` is the immediate question: it should be specific, self-contained, and written in natural language.
`goal` is optional and describes the broader end goal you are ultimately trying to accomplish on behalf of the user. GitBook uses it to tailor the answer towards what is most useful for that goal.
The response will contain a direct answer to the question and relevant excerpts and sources from the documentation.
Use this mechanism when the answer is not explicitly present in the current page, you need clarification or additional context, or you want to retrieve related documentation sections.