| AWS Service | Purpose / Usage |
|---|---|
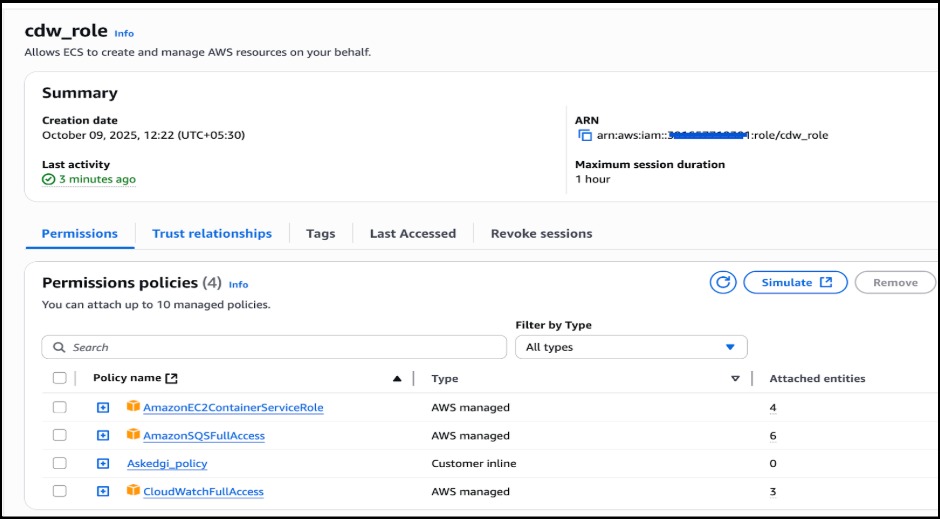
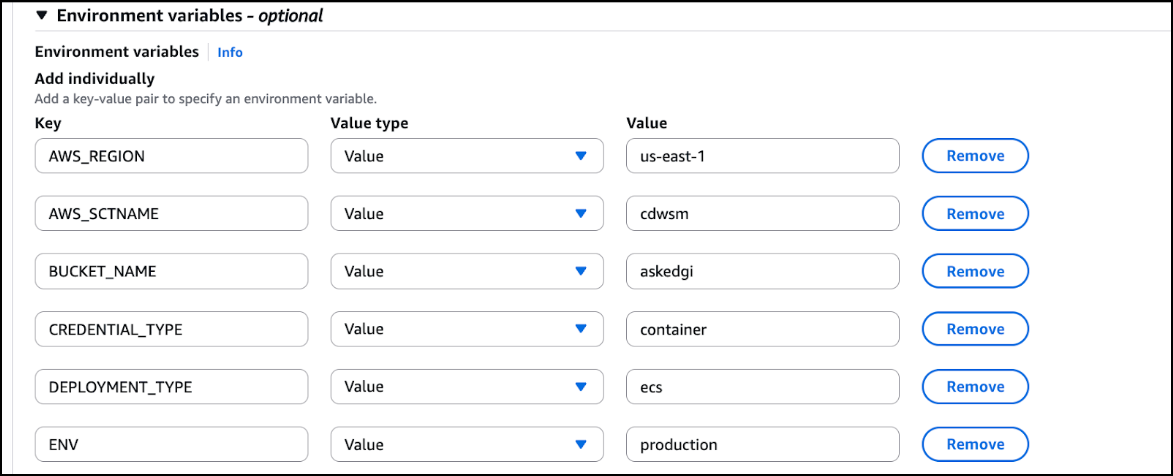
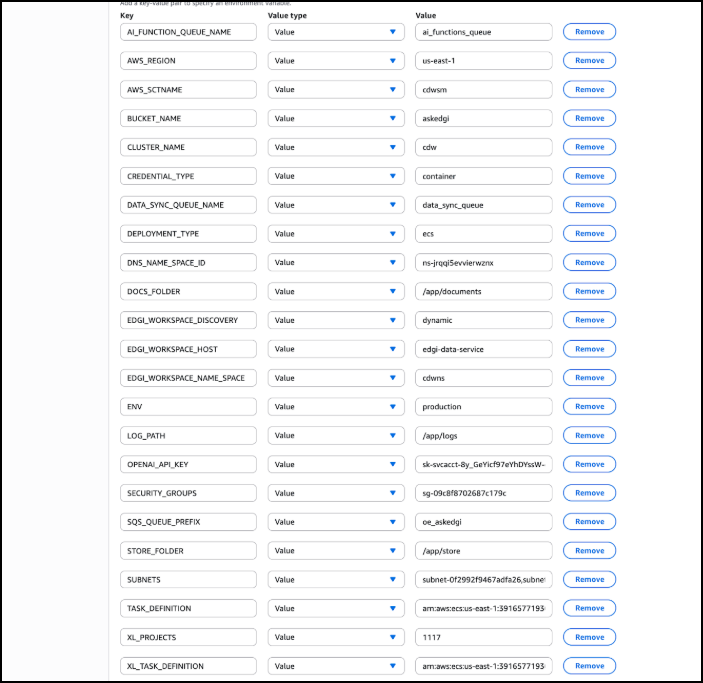
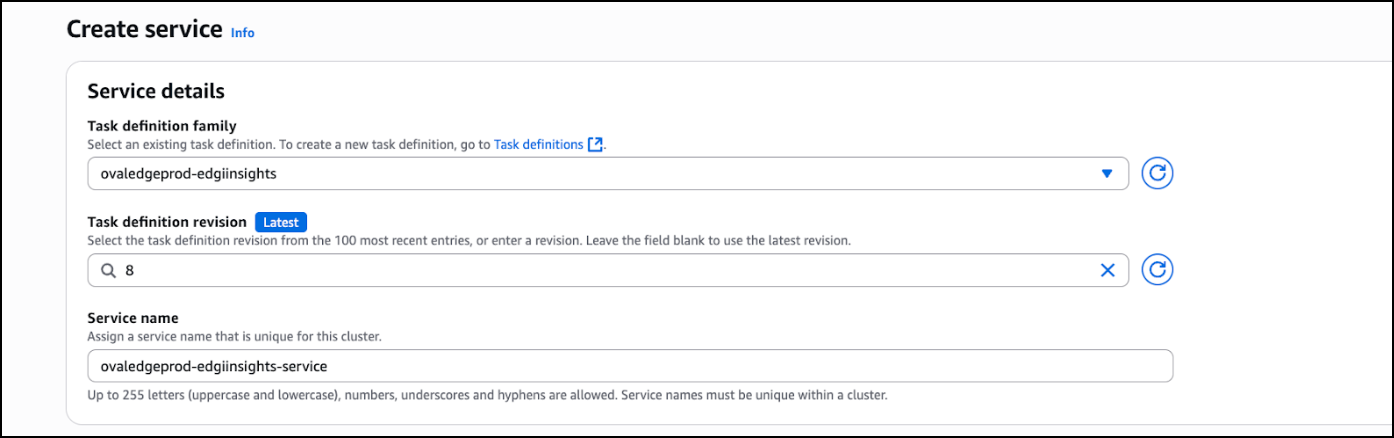
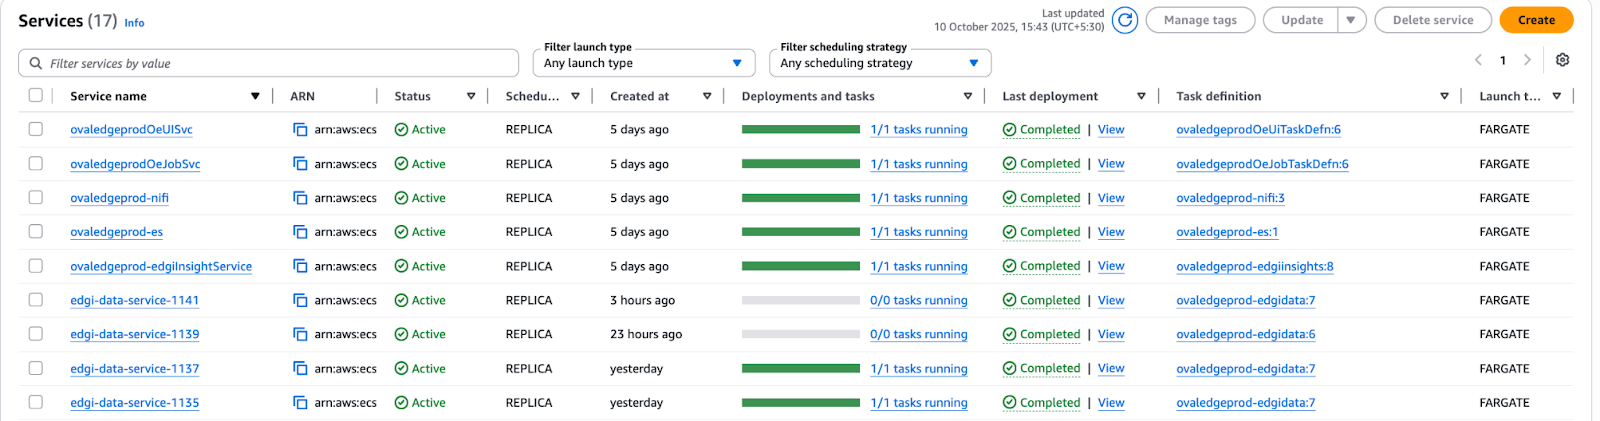
| ECS | Hosts AskEdgi containers and manages task execution |
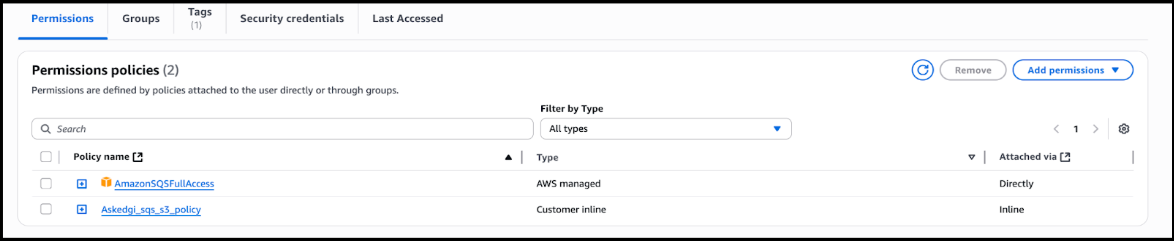
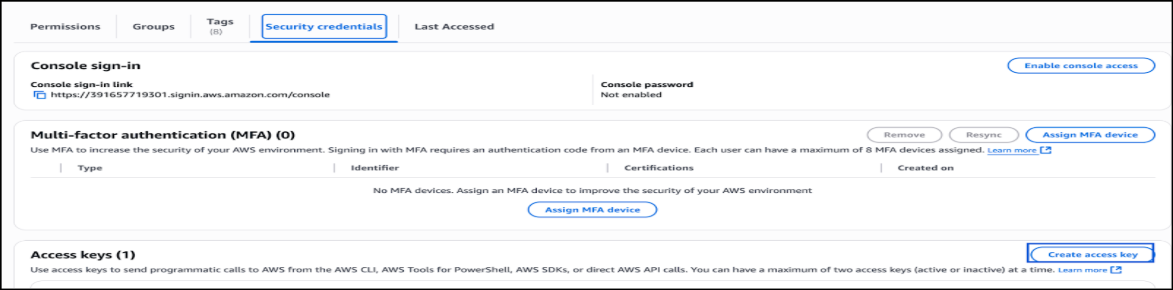
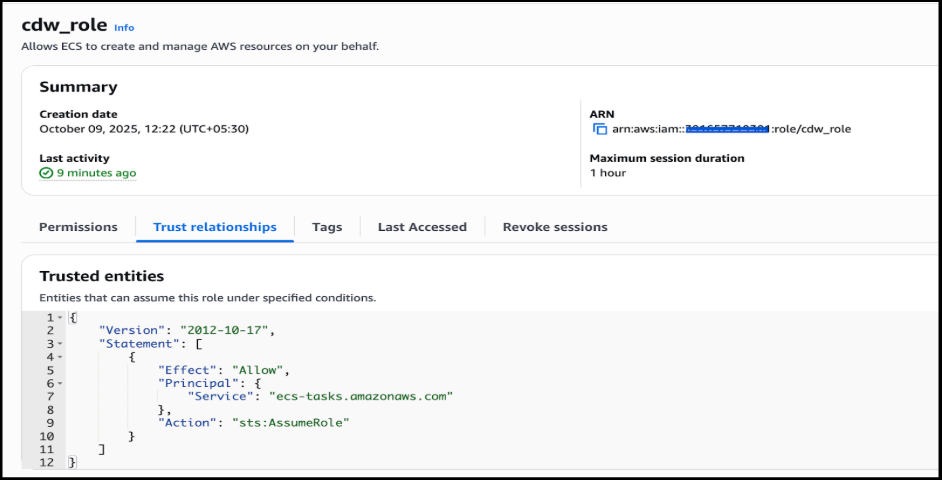
| IAM | Manages users, roles, and permissions for secure access |
| RDS | Stores application and workspace data for AskEdgi services |
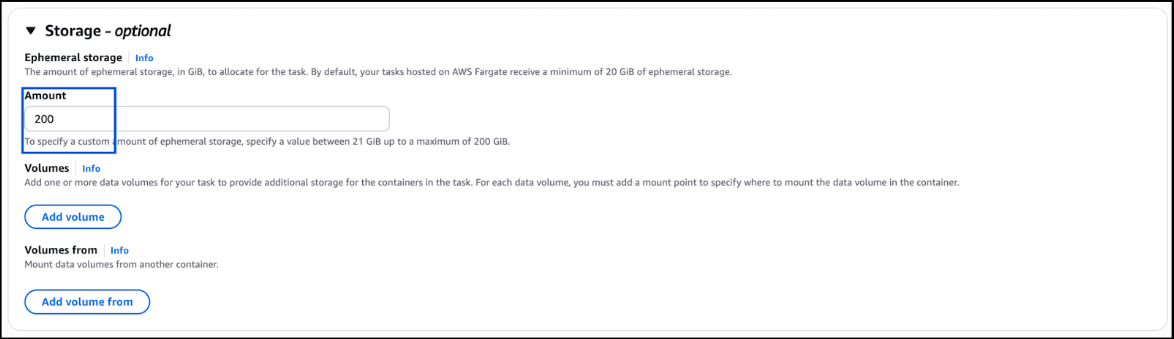
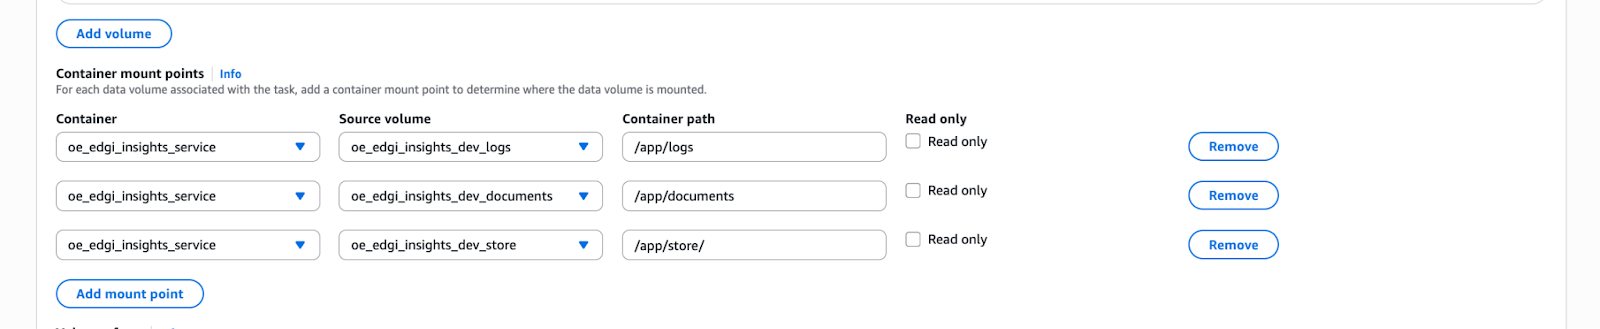
| EFS | Provides persistent file storage for the Insight service |
| Secrets Manager | Stores database credentials and sensitive configuration securely |
| EC2 | Supports underlying compute resources for ECS tasks |
| Protocol | Port | Source/Destination | Description |
|---|---|---|---|
| TCP | 8000 | Destination VPC range | Allow ECS service communication |
| TCP | 9200 | Private Elasticsearch SG | Allow Elasticsearch to ECS Edgi communication |
| TCP | 3306 | Private RDS SG | Allow RDS to ECS Edgi communication |
| All | All | Private EFS SG | Allow EFS to ECS Edgi communication |