# OvalEdge DB on AWS RDS
This article provides step-by-step instructions to provision an AWS MySQL-compatible RDS instance for the OvalEdge platform. It includes prerequisites, database creation, schema setup, and execution of OvalEdge database scripts to prepare the backend for application deployment.
## Prerequisites
Ensure the following requirements are met before starting the setup:
* **AWS Account Access**: An active AWS account with permissions to create and manage RDS resources.
* **AWS Management Console Access**: Ability to log in and navigate to the RDS service.
* **MySQL Client or GUI Tool Installed**: Tools such as MySQL Workbench, DBeaver, or the MySQL CLI should be available on your local machine or EC2 instance.
## Create MySQL Database in RDS
Follow the steps below to provision a new MySQL-compatible RDS instance:
1. Log in to the **AWS Management Console** and navigate to **RDS**.
2. Click **Create database**.
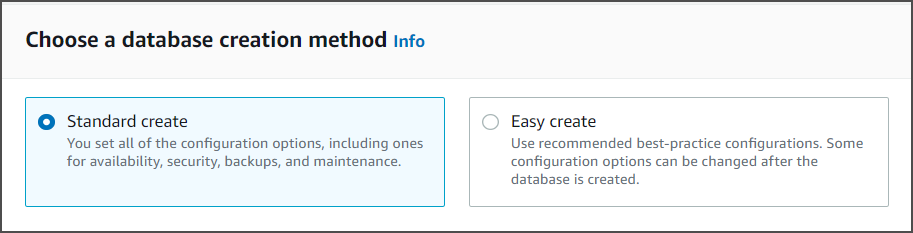
 3. Select **Standard Create**.
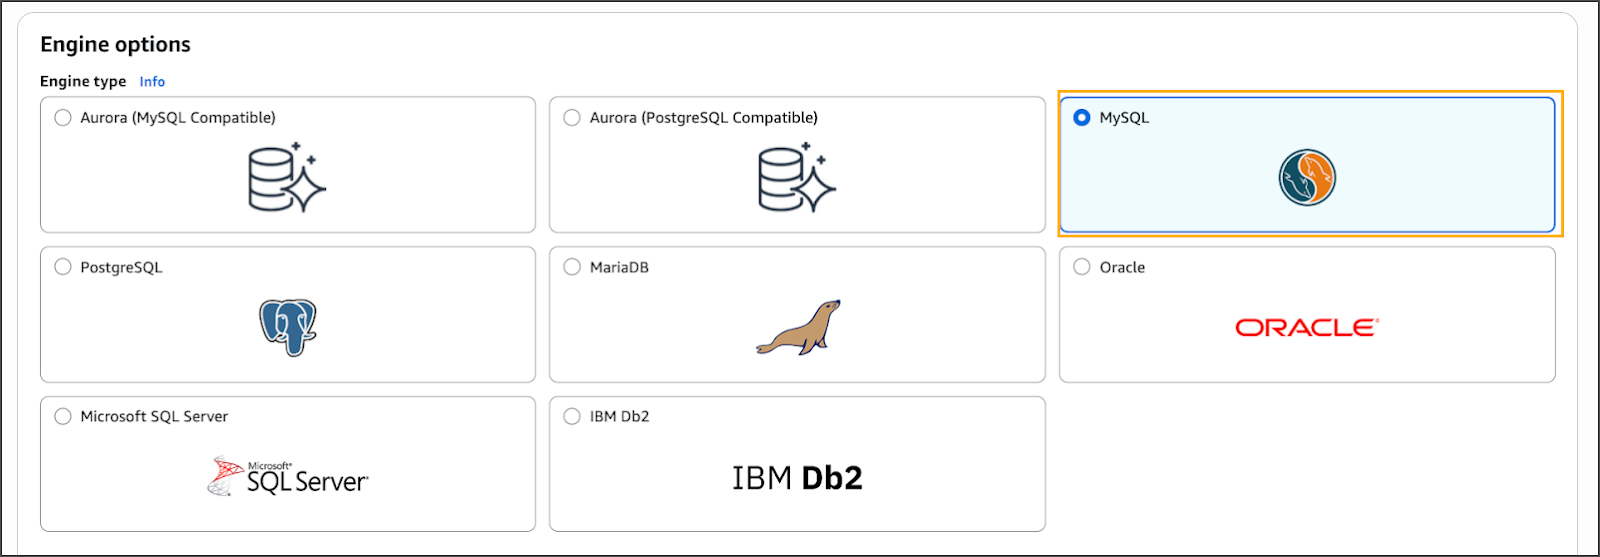
 4. Choose **MariaDB** as the engine.
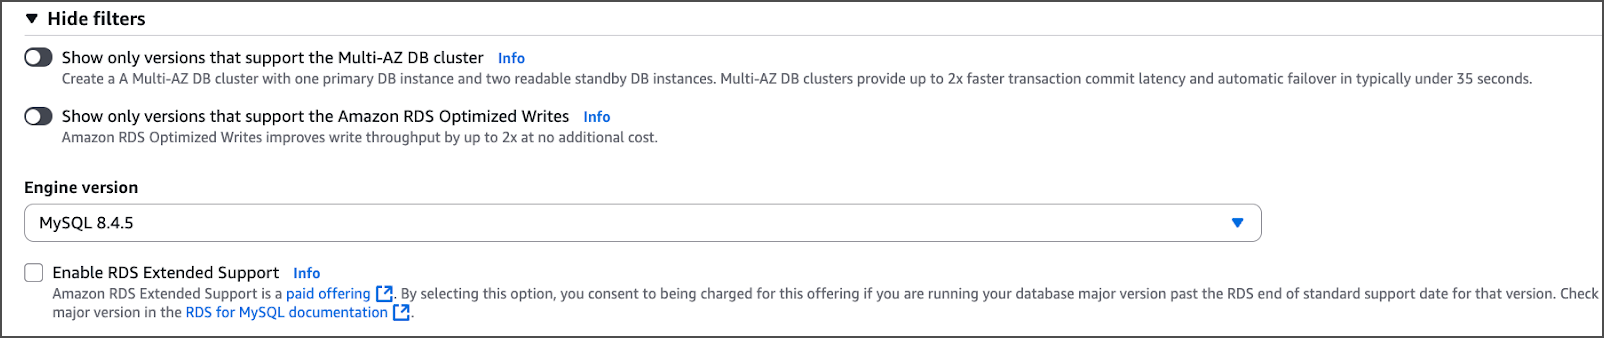
 5. Under **Version**, select the latest available in the **8.4.x** series.
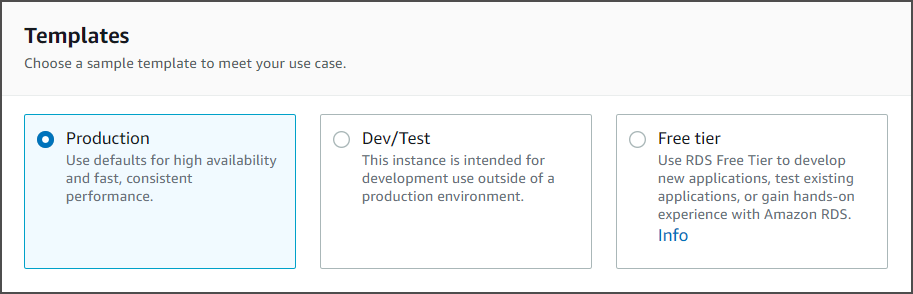
 6. Select a **template** based on workload (e.g., *Production* or *Dev/Test*).
 7. Enter a **DB instance identifier** (e.g., `ovaledge-db`).
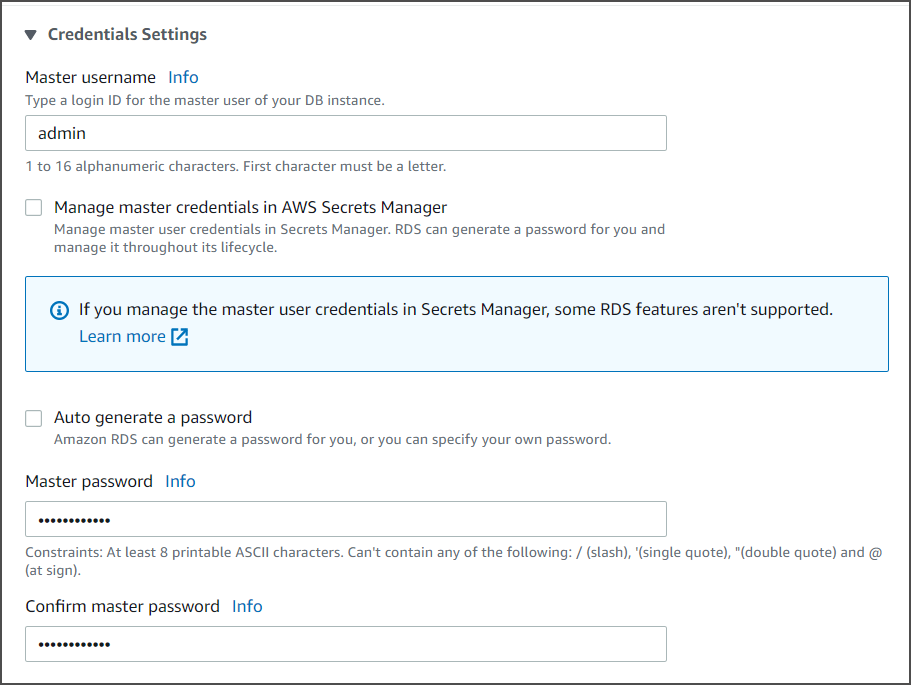
 8. Set the **Master username**, then either:
* Auto-generate the password, or
* Enter a custom secure password.
8. Set the **Master username**, then either:
* Auto-generate the password, or
* Enter a custom secure password.
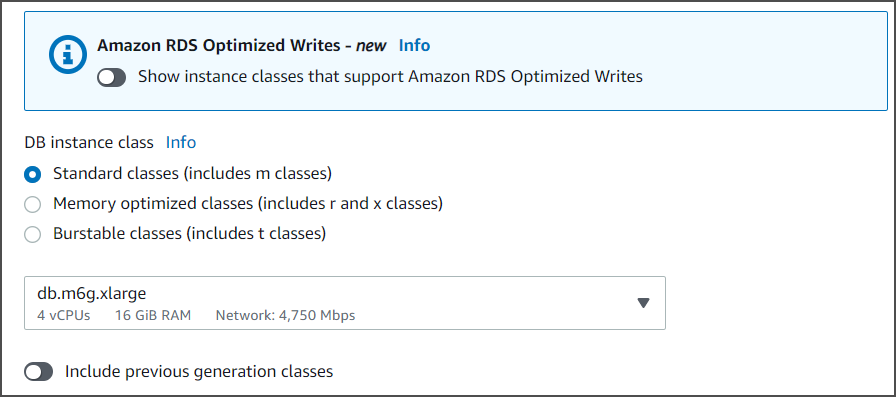
 9. Choose the desired **DB instance class** (e.g., `db.t3.medium`) based on performance needs.
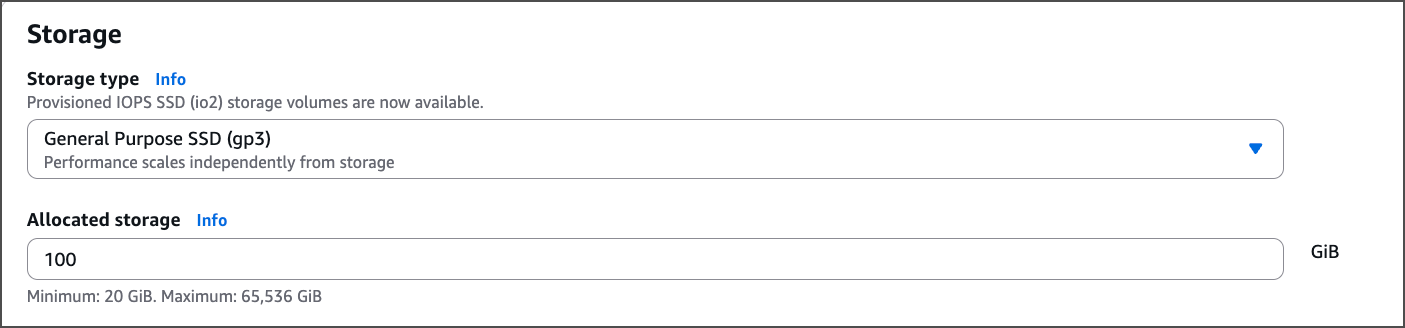
 10. Configure **Storage type** and allocate a minimum of **100 GB**.
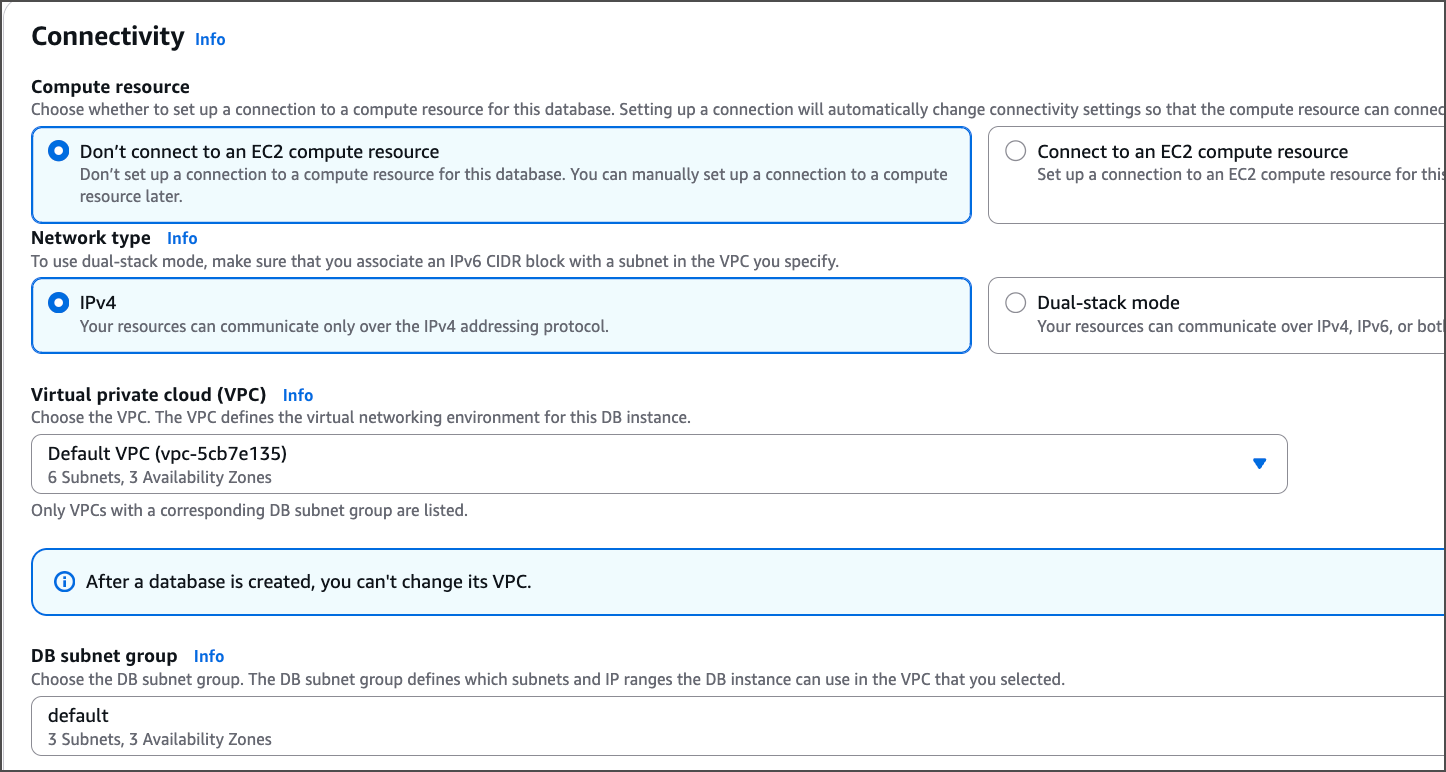
 11. Under **Connectivity**, configure VPC, subnet group, and security groups as required.
12. Expand **Additional Configuration** and set any custom DB parameters.
 13. Set **Public access** to **Yes** if remote connections are required.
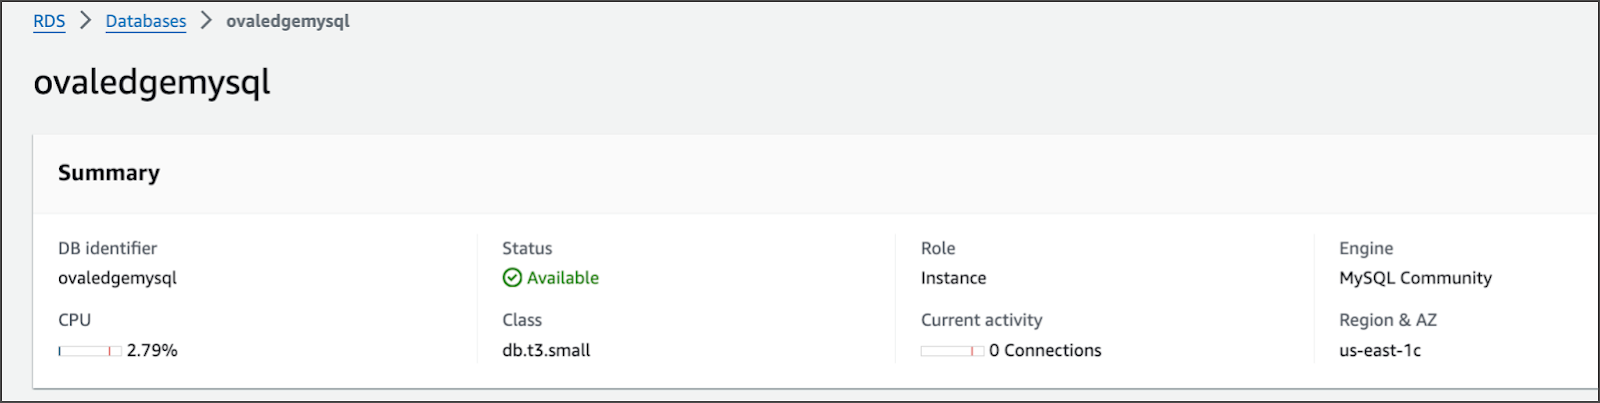
 14. Click **Create Database**.
### Create OvalEdge Schema
Once the RDS instance is available:
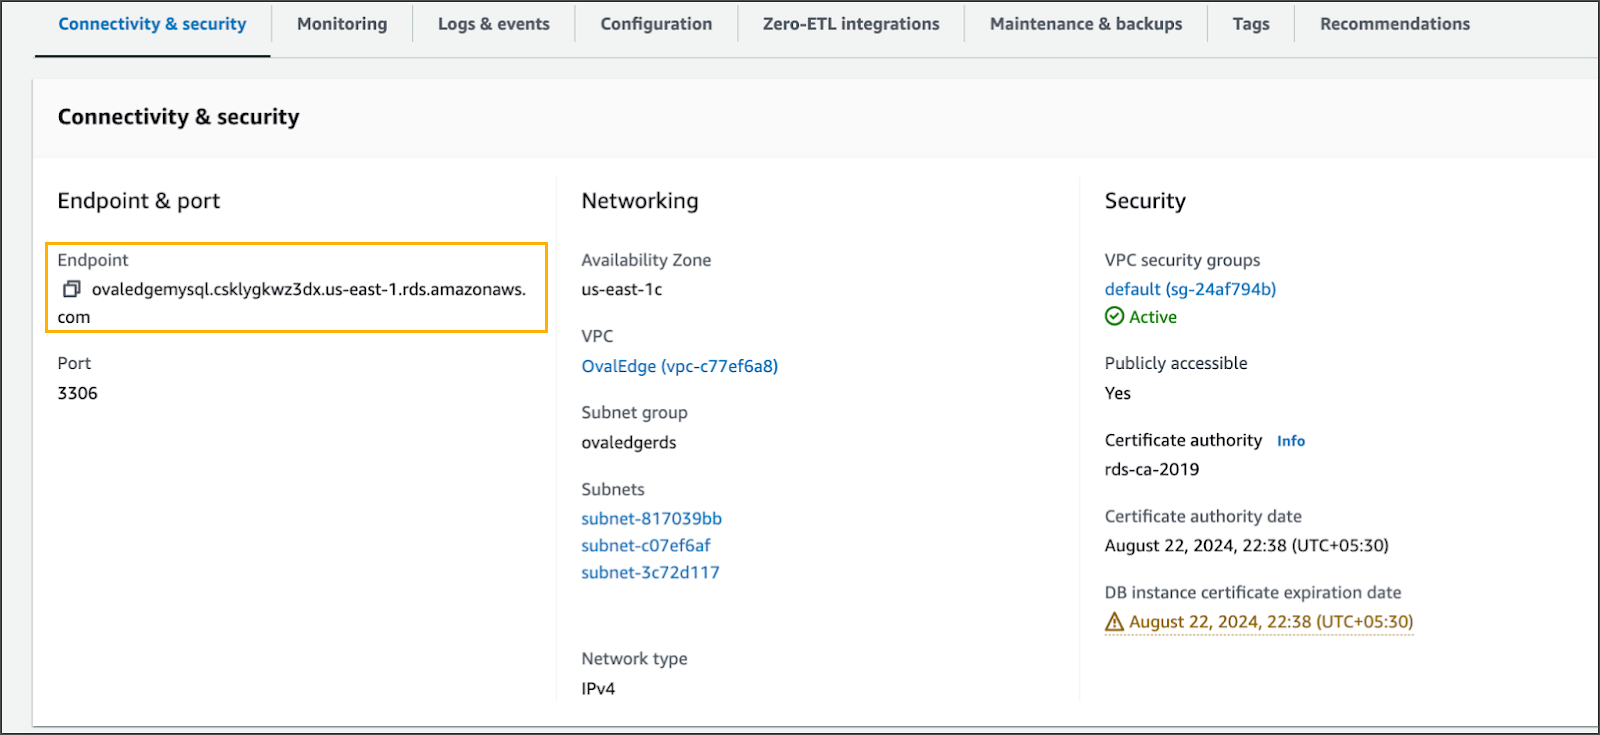
1. Copy the **endpoint** from the RDS dashboard.
14. Click **Create Database**.
### Create OvalEdge Schema
Once the RDS instance is available:
1. Copy the **endpoint** from the RDS dashboard.
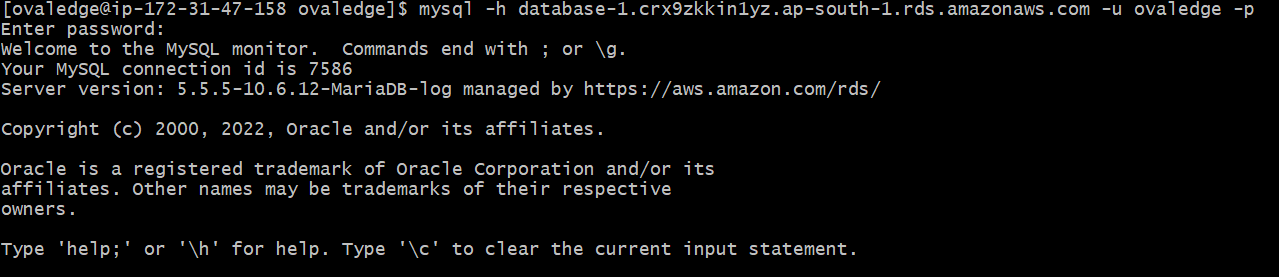
 2. Connect to the instance using a database client (e.g., MySQL CLI):
```bash
mysql -h -u -p
```
## Download and Execute OvalEdge DB Scripts
1. Ensure the **OvalEdge DB scripts** are available on the EC2 instance (typically located under `$HOME/ovaledge/`).
2. Connect to the RDS instance using MySQL CLI:
2. Connect to the instance using a database client (e.g., MySQL CLI):
```bash
mysql -h -u -p
```
## Download and Execute OvalEdge DB Scripts
1. Ensure the **OvalEdge DB scripts** are available on the EC2 instance (typically located under `$HOME/ovaledge/`).
2. Connect to the RDS instance using MySQL CLI:
```bash
mysql -h -u -p
```
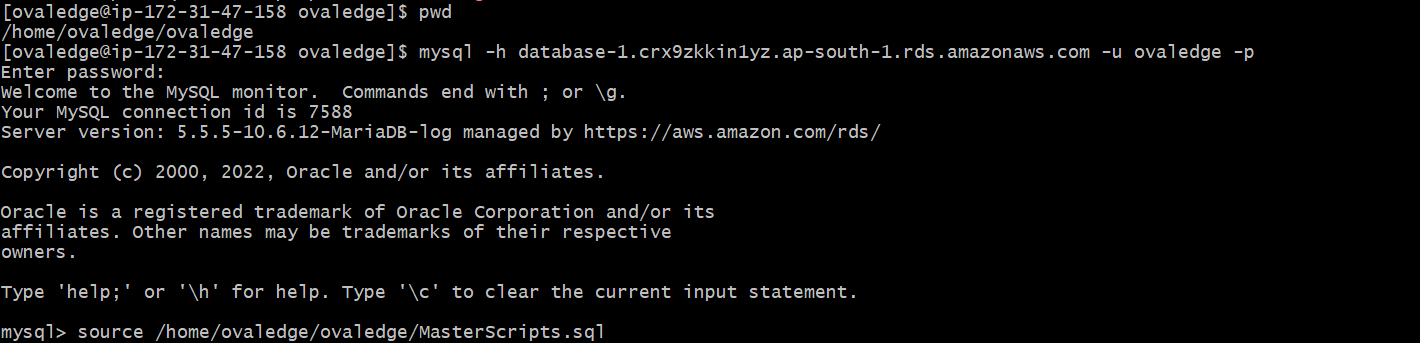
 3. After logging in, execute the **master script**:
```bash
source /home/ec2-user/ovaledge/MasterScripts.sql;
```
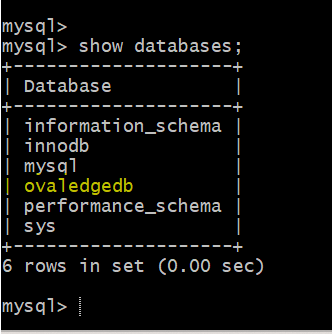
 4. Verify schema creation:
```sql
show databases;
```
The database **`ovaledgedb`** should be listed, confirming successful script execution.
4. Verify schema creation:
```sql
show databases;
```
The database **`ovaledgedb`** should be listed, confirming successful script execution.
 ***
Copyright © 2025, OvalEdge LLC, Peachtree Corners, GA, USA.
***
Copyright © 2025, OvalEdge LLC, Peachtree Corners, GA, USA.