| Connector Category | Reporting Tools |
| Connector Version | Release6.3.4 |
| Releases Supported (Available from) | Release6.1 |
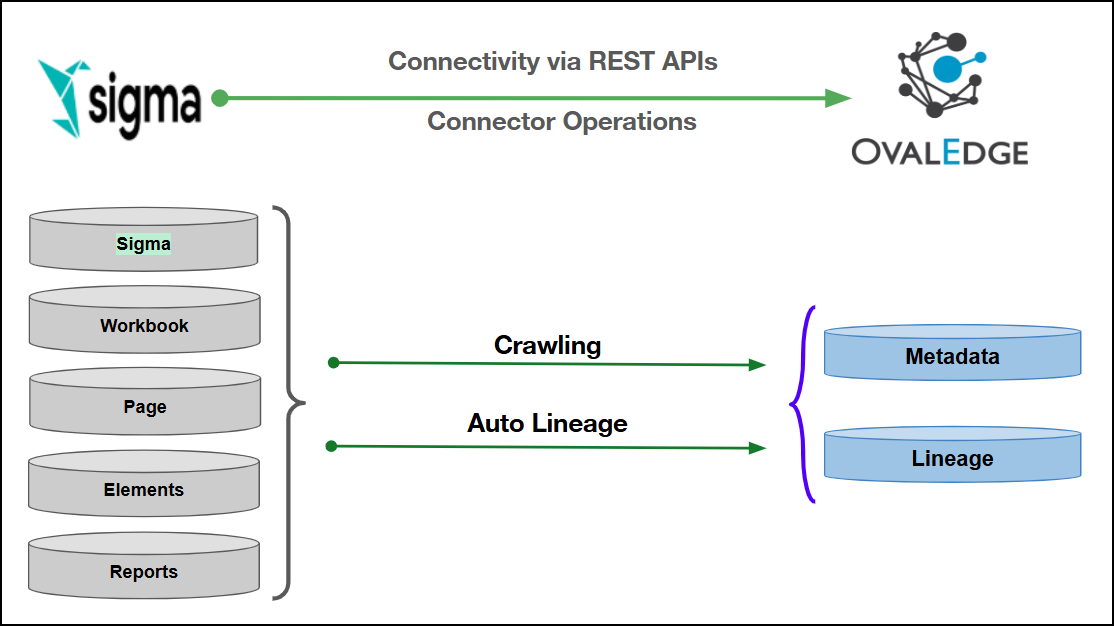
Connectivity [How the connection is established with Sigma] | REST APIs |
| Verified Sigma Version | V2(API) |
| Sigma Object | Sigma Property | OvalEdge Attribute | OvalEdge Category | OvalEdge Type |
|---|---|---|---|---|
| Sigma | Default | Report Group | Report Group | Report Group |
| Workbooks | Name | Report | Report | Report Name |
| Workbooks | Type | Report Type | Report | Workbook |
| Workbooks | Desc | Source Description | Report | Source Description |
| Page | Name | Report | Report | Report Name |
| Page | Type | Report Type | Report | Page |
| Elements | Element Name | Report | Report | Report Name |
| Elements | Type | Report Type | Report | Element |
| Field Name | Description |
|---|---|
| Connector Type | By default, "Sigma Computing" is displayed as the selected connector type. |
| Connector Settings | |
| Credential Manager* | Select the desired credentials manager from the drop-down list. Relevant parameters will be displayed based on the selected option. Supported Credential Managers:
|
| License Add Ons |
|
| Connector Name* | Enter a unique name for the Sigma Computing connection (Example: "Sigmacomputingdb"). |
| Connector Environment | Select the environment (Example: PROD, STG) configured for the connector. |
| Connector Description | Enter a brief description of the connector. |
| Host Name* | Enter the Sigma IP address or hostname of the source system to establish a connection. |
| Connection String | Configure the connection string for the Azure Devops Repo database:
Replace placeholders with actual database details. {sid} refers to the database name. |
| Client Id* | Enter the client ID generated for the service account that has been granted catalog access permissions. |
| Client Secret* | Enter the client secret associated with the specified client ID to authenticate the connection. |
| Proxy Enabled* | Select Yes to route API calls through a proxy server. Select No to bypass the proxy and connect directly. |
| Default Governance Roles* | Select the appropriate users or teams for each governance role from the drop-down list. All users configured in the security settings are available for selection. |
| Admin Roles* | Select one or more users from the dropdown list for Integration Admin and Security & Governance Admin. All users configured in the security settings are available for selection. |
| No Of Archive Objects* | This shows the number of recent metadata changes to a dataset at the source. By default, it is off. To enable it, toggle the Archive button and specify the number of objects to archive. Example: Setting it to 4 retrieves the last four changes, displayed in the 'Version' column of the 'Metadata Changes' module. |
| Select Bridge* | If applicable, select the bridge from the drop-down list. The drop-down list displays all active bridges that have been configured. These bridges facilitate communication between data sources and the system without requiring changes to firewall rules. |